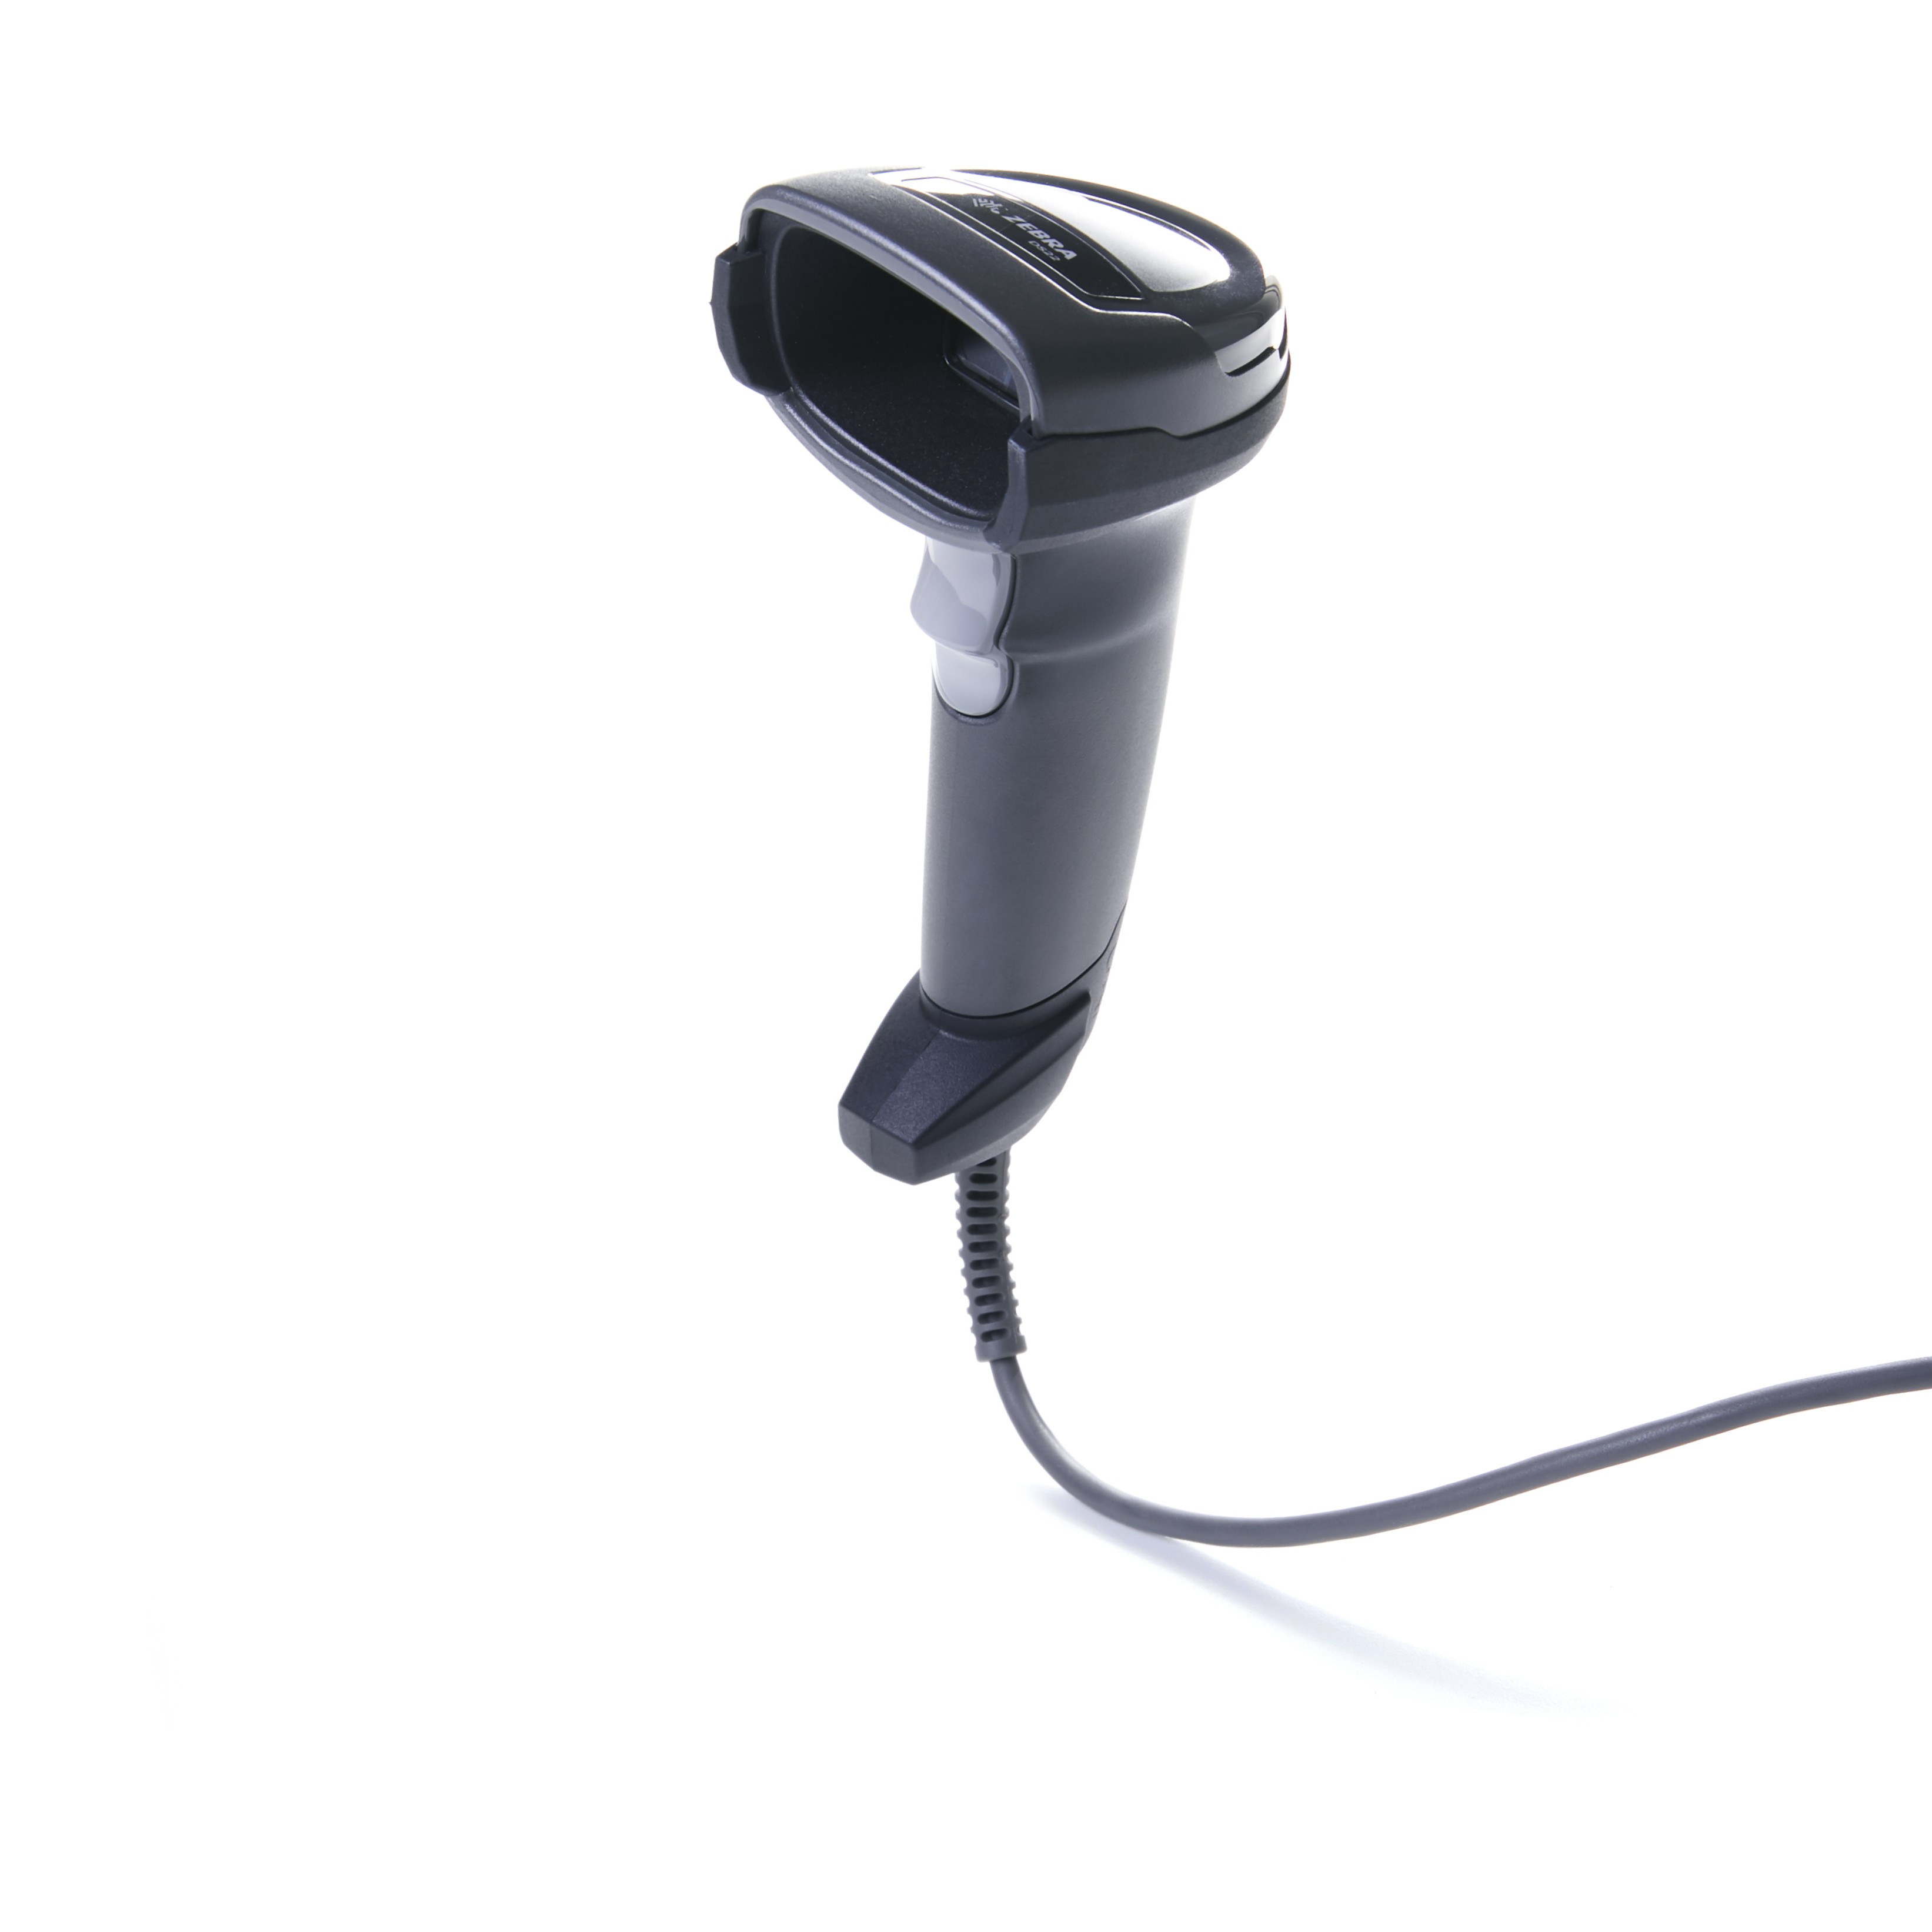
The Zebra DS2200 series barcode scanners are popular for their versatility and ease of use in various retail and business environments. Available in both corded (DS2208) and cordless (DS2278) models, these scanners efficiently read both 1D and 2D barcodes. One common requirement for users is to configure the scanner to automatically add an “enter” or carriage return after each scan. This feature, often referred to as “auto enter,” streamlines data entry by automatically moving to the next line or field after scanning an item. This guide will walk you through setting up your Zebra DS2200 series barcode scanner, focusing on enabling the auto enter function.
Setting Up Your Zebra DS2208 Corded Barcode Scanner and Enabling Auto Enter
The corded Zebra DS2208 scanner is straightforward to set up. Here’s what you’ll need and how to connect it:
What you’ll need:
- Zebra DS2208 Barcode Scanner
- USB Cable
- Scanner Cradle (optional)
Steps to Connect and Configure:
-
Connect the USB Cable: Locate the base of your Zebra DS2208 scanner and firmly plug in the USB cable.
-
Connect to Your Computer: Plug the other end of the USB cable into an available USB port on your computer.
Note for Mac Users: If a “Keyboard Setup Assistant” window appears on your Mac, simply close it by clicking the red “x” in the corner. This pop-up is not needed for barcode scanner setup.
-
Enable Auto Enter (Carriage Return): To activate the automatic carriage return after each scan, locate the configuration barcode for “carriage return.” This barcode is usually found in the Quick Start Guide that came with your Zebra DS2208. Scan this specific barcode. If you’re using an Elo desktop bundle, this step might be pre-configured.
-
Test Your Scanner: Open a program where you can input text, such as a text editor or a spreadsheet. Scan a barcode. If the scanned data appears and the cursor automatically moves to the next line or field, the auto enter setup is successful. You can also test within your Retail POS system by navigating to Inventory > Item Search and scanning an item barcode.
-
Using the Cradle (Optional): If you have a cradle, you can place your DS2208 scanner in it when not in use. This keeps the scanner readily accessible and organized.
Setting Up Your Zebra DS2278 Cordless Barcode Scanner with Cradle and Enabling Auto Enter
The Zebra DS2278 cordless scanner uses Bluetooth to communicate with its cradle, providing wireless scanning capabilities. The cradle then connects to your computer via USB for data transmission and charging.
Initial Setup and Charging:
It’s recommended to charge your Zebra DS2278 scanner in its cradle before first use. When placed in the cradle, the LED light on the cradle will illuminate amber and blink while charging. Once fully charged, the light will turn solid green.
Steps to Connect, Configure, and Enable Auto Enter:
-
Connect the Cradle: Plug the cradle cable into the port located underneath the scanner cradle.
-
Connect Cradle to Computer: Connect the other end of the cradle’s USB cable to a USB port on your computer.
Mac User Note: As with the DS2208, dismiss the “Keyboard Setup Assistant” if it appears on macOS.
-
Enable Auto Enter (Carriage Return): Similar to the DS2208, scan the “carriage return” configuration barcode from the Quick Start Guide to enable the auto enter function for your DS2278 scanner.
-
Test Your Scanner: Open a text application or your POS system’s item search (e.g., Inventory > Item Search in Retail POS) and scan an item barcode to verify that the scanner inputs data and automatically adds a carriage return after each scan.
Setting Up Your Zebra DS2278 Cordless Barcode Scanner Without Cradle and Enabling Auto Enter
You can also use the Zebra DS2278 cordless scanner without its cradle, charging it directly and pairing it via Bluetooth.
Steps for Cordless Setup and Auto Enter:
-
Charge the Scanner: Connect the micro USB connector to your Zebra DS2278 scanner and the standard USB end to your computer or a USB wall adapter for charging. The LED on the scanner will blink green while charging.
-
Enable Bluetooth Pairing: Once charged, disconnect the USB cable. Scan the “general discoverable mode” barcode to enable Bluetooth pairing. This barcode is typically found in your scanner’s documentation.
-
Pair with Your Computer: Ensure Bluetooth is enabled on your computer. Search for available Bluetooth devices and select your Zebra DS2278 model from the list to pair the scanner with your computer.
-
Enable Auto Enter (Carriage Return): Scan the “carriage return” configuration barcode to activate the auto enter feature, as described in the previous setup methods.
-
Test Scanning: Use a text editor or your POS software to test barcode scanning and confirm the auto enter functionality is working correctly.
Configuring Your Zebra DS2200 Series for 2D Barcode Scanning and Auto Enter
The Zebra DS2200 series is capable of scanning 2D barcodes. To ensure optimal setup for 2D scanning, and to confirm auto enter is enabled, follow these steps:
-
Scan the “Set Factory Defaults” Barcode: This step resets the scanner to its original factory settings, providing a clean configuration base. Locate and scan the “Set factory default” barcode, usually found in the scanner’s manual.
-
Scan the “Disable Keypad Emulation” Barcode: This setting is often recommended for proper 2D barcode reading in many systems. Scan the “Disable keypad emulation” barcode from your scanner’s guide.
-
Enable Auto Enter (Carriage Return): Finally, ensure auto enter is active by scanning the “carriage return” barcode. This barcode might be labeled as “CR Suffix” or similar in your documentation.
By following these steps, you can effectively set up your Zebra DS2200 series barcode scanner and enable the auto enter feature, streamlining your workflow whether you are using the corded DS2208 or the cordless DS2278 model. Ensure you always refer to the Quick Start Guide or User Manual that comes with your specific scanner model for the configuration barcodes mentioned in these steps.