
Connecting an OBD2 scanner to your car is the first step in diagnosing car troubles. But with so many AutoZone scanners available, how do you choose the right one? This guide will walk you through connecting your scanner, understanding the codes, and ultimately, saving money on car repairs. We’ll focus on finding the perfect Autozone Scanner For Car maintenance.
Connecting Your AutoZone Scanner for Car Diagnostics
The OBDII port, a 16-pin trapezoid-shaped connector, is usually located under the driver’s side dashboard. Sometimes, it’s hidden in the center console or under the passenger side. Connecting your AutoZone scanner for car diagnostics is straightforward: the connector only fits one way. Align the trapezoidal shapes and firmly push them together.
The correct connection sequence is:
- Ignition Off: Ensure the car’s ignition is off before starting.
- Connect Scanner: Plug the AutoZone scanner into the OBDII port.
- Ignition On: Turn the ignition to the ‘on’ position without starting the engine.
- Power Up: The OBD2 port will power the scanner.
- Boot Sequence: Wait for the scanner to complete its boot-up sequence.
The scanner may prompt you for information like engine size or VIN.
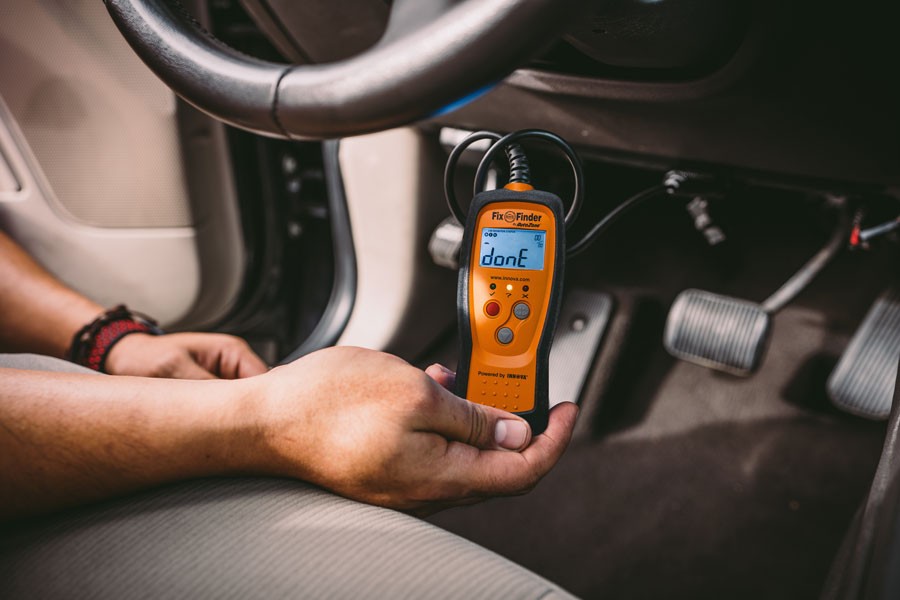 A person connecting an OBD2 scanner to a car's port.
Navigating the AutoZone Scanner Menu
Once booted, your AutoZone scanner for car diagnostics will display a menu. Options vary depending on the scanner model:
- Read Codes: Displays Diagnostic Trouble Codes (DTCs) and sometimes a brief description of the fault.
- Erase Codes: Clears stored fault codes from the car’s computer.
- Live Data: Provides real-time sensor readings for advanced diagnostics. This feature is invaluable when using an AutoZone scanner for car performance monitoring.
- Freeze Frame: Shows vehicle parameters at the moment a DTC was set.
- Vehicle Info: Displays vehicle-specific data.
- I/M Readiness: Indicates emissions and smog test readiness.
Use the buttons on the scanner or your smartphone (for Bluetooth/Wi-Fi models) to navigate the menu.
Deciphering Diagnostic Trouble Codes with your AutoZone Scanner for Car
When you select “Read Codes,” the displayed code (e.g., P0301) needs deciphering.
The first letter indicates the system:
- P: Powertrain (engine, transmission, emissions, fuel)
- B: Body (airbag, interior)
- C: Chassis (suspension, steering)
- U: Network
The first number is 0 for generic codes or 1 for manufacturer-specific codes. The second digit indicates the subsystem (e.g., fuel and air metering, ignition). The third and fourth numbers pinpoint the specific fault.
For instance, P0301 signifies a generic powertrain code related to the ignition system, specifically a cylinder #1 misfire. Your AutoZone scanner for car diagnostics will help you understand these codes.
Saving Money with an AutoZone Scanner for Car Repairs
An AutoZone scanner for car diagnostics can save you money by:
- Early Diagnosis: Identifying potential problems early on.
- Smog Check Readiness: Determining if your car will pass emissions testing.
- DIY Repairs: Enabling you to diagnose and fix simple issues yourself. For example, a P0138 code indicates a faulty oxygen sensor, a relatively easy DIY replacement.
AutoZone offers a range of OBDII scanners, including loaner tools, to empower you with car maintenance.
Finding the Perfect AutoZone Scanner for Car Maintenance
Choosing the right AutoZone scanner for car depends on your needs. Basic code readers are sufficient for checking engine codes. More advanced scanners offer live data, allowing real-time monitoring of various car systems. Consider features, price, and user reviews when selecting an AutoZone scanner for car diagnostics at AutoZone.