
Is your Pro 30 scanner experiencing poor reception? A common culprit could be a loose car antenna connection. Fortunately, this is often a simple fix you can handle yourself. This guide will walk you through tightening your Pro 30 scanner’s car antenna, ensuring you get the best possible signal.
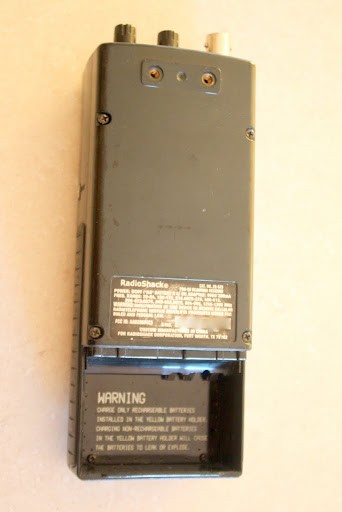
First, let’s take a look at the back of your Pro 30 scanner. You’ll notice four screws securing the back panel. These are the key to accessing the antenna base.
Using a small screwdriver, carefully remove these four screws. Once removed, you can gently separate the back panel of the scanner. The panel separates along the seam running down the scanner’s side, giving you access to the internal antenna connection.
With the back panel separated, you’ll clearly see the base of the car antenna inside the scanner. This is where the antenna connects to the internal circuitry. Over time, the nut securing this connection can loosen, leading to signal issues.
The fix is usually as simple as tightening this nut. You’ll want to ensure it’s firmly against the washer and the scanner body. If the wire or solder point is just flexed but not broken, tightening the nut should re-establish a solid connection and resolve your reception problems. However, if the solder or wire is broken, you may need professional servicing.
For tightening the nut, needle-nose pliers can be helpful to reach into the space without disturbing other components. Gently tighten the nut until it’s snug. Avoid excessive force, as you only need a firm connection, not to overtighten it.
Once the nut is tightened, carefully slide the back panel back into place and re-secure it with the four screws. Replace the batteries, and your Pro 30 scanner should be ready to pick up signals with a much-improved car antenna connection. Regularly checking and tightening this antenna nut can help maintain optimal performance for your scanner, ensuring years of reliable use.