Performing diagnostics using a Tech2 scanner tool is crucial for accurately identifying and resolving vehicle issues. This comprehensive guide will equip car owners, repair shop managers, and automotive technicians with the knowledge and skills to effectively use the Tech2 scanner, leveraging video resources for enhanced understanding.
Understanding the Power of the Tech2 Scanner
The Tech2 remains a powerful diagnostic tool, especially for older GM vehicles. Its capabilities extend beyond basic code reading, allowing users to access various vehicle modules, perform bi-directional controls, and even program certain components. Understanding its functionalities is key to efficient troubleshooting. What makes the Tech2 particularly valuable is its ability to delve deep into specific modules, providing detailed data that generic OBD-II scanners often miss. This precise diagnostic information can save valuable time and money by pinpointing the root cause of the problem quickly.
What if you could diagnose complex car problems with ease? The Tech2 scanner makes it possible. It’s more than just a code reader; it’s a comprehensive tool that allows you to interact with your car’s systems on a deeper level.
Performing Diagnostics Using Tech2 Scanner Tool: A Step-by-Step Guide
Using a Tech2 scanner effectively involves a systematic approach. Here’s a step-by-step guide to help you navigate the process:
-
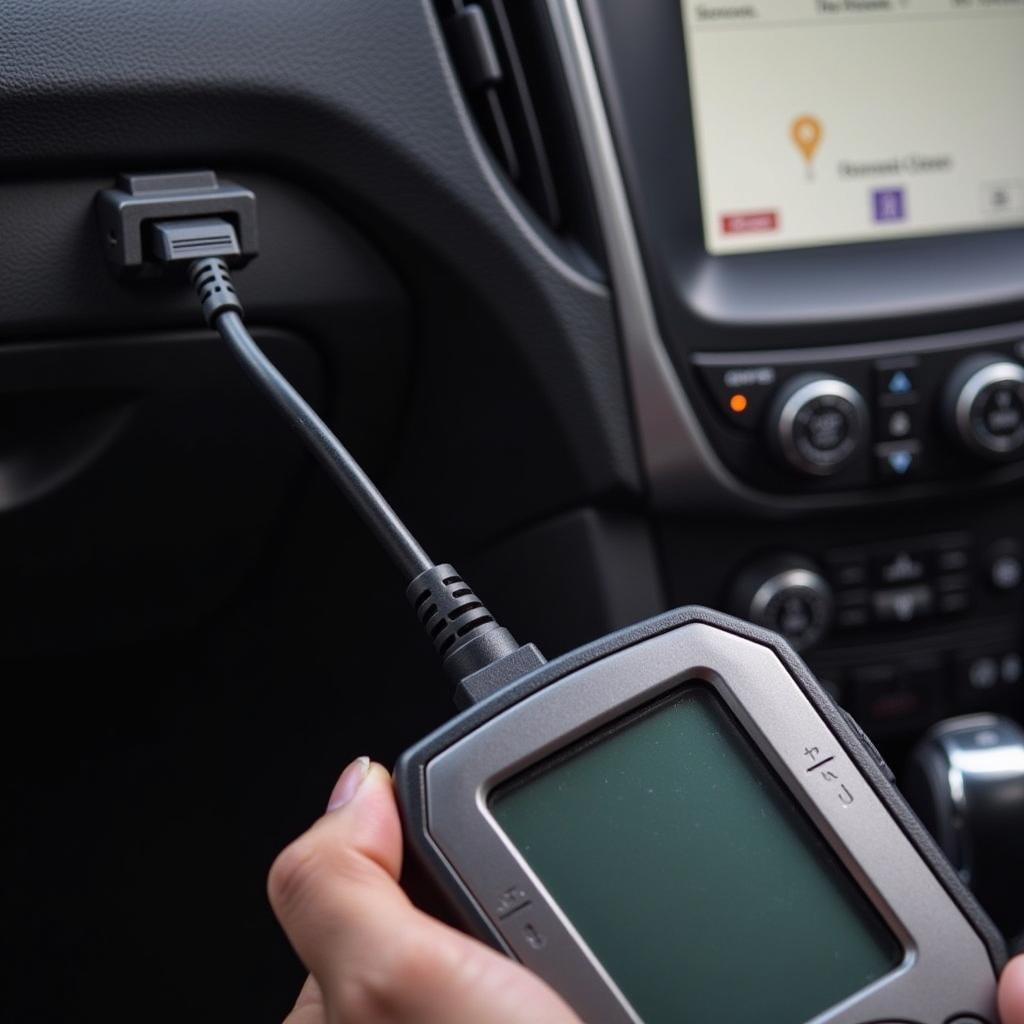
Connect the Tech2 Scanner: Begin by connecting the Tech2 scanner to the vehicle’s OBD-II port, typically located under the dashboard on the driver’s side. Ensure a secure connection.
-
Power On and Vehicle Identification: Turn the ignition on, and power on the Tech2 scanner. The scanner will automatically attempt to identify the vehicle’s make, model, and year.
-
Select the Appropriate Module: Once the vehicle is identified, navigate through the Tech2 menu to select the specific module you want to diagnose, such as the engine control module (ECM), transmission control module (TCM), or ABS module.
-
Read Diagnostic Trouble Codes (DTCs): Access the DTC reading function within the selected module. The Tech2 will display any stored fault codes. Record these codes for further analysis.
-
Data Stream Analysis: View live data streams from various sensors within the chosen module. This real-time data allows you to observe sensor readings and identify anomalies that may indicate a problem.
-
Bi-directional Controls (Actuator Tests): Perform actuator tests using the Tech2’s bi-directional control capabilities. This allows you to activate specific components, like fuel injectors or solenoids, to verify their functionality.
-
Clear Diagnostic Trouble Codes: After addressing the issue, use the Tech2 to clear the stored DTCs. This confirms the repair and resets the system.
Leveraging Tech2 Scanner Tool Video Resources
Videos offer invaluable visual guidance for using the Tech2 scanner. Searching for “Performing Diagnostics Using Tech2 Scanner Tool Video” on platforms like YouTube can provide demonstrations of the steps outlined above, making the process easier to understand and follow. Visual learners will greatly benefit from seeing the procedures demonstrated in real-time.
“Using video tutorials can significantly enhance your understanding of the Tech2 scanner,” says Michael Stevens, Senior Automotive Diagnostic Technician at Advanced Auto Solutions. “They provide a practical, real-world perspective that complements theoretical knowledge.”
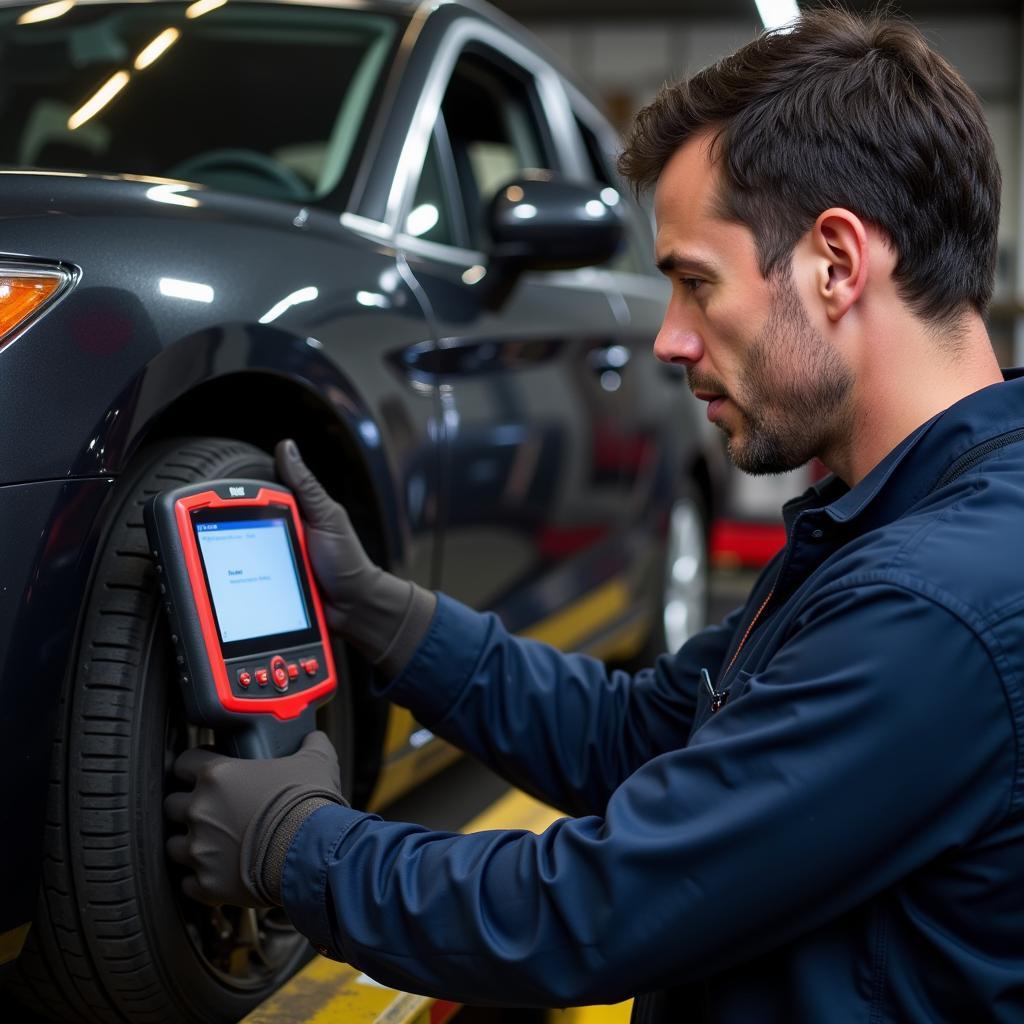 Mechanic Using Tech2 Scanner on a Car
Troubleshooting Common Issues with Tech2 Scanner
Sometimes, you might encounter issues while using the Tech2 scanner. Common problems include communication errors, inability to read codes, or difficulty accessing certain modules. Ensure the scanner’s software is up-to-date and the connection to the vehicle is secure. Consulting online forums and video tutorials can offer solutions to these common problems. “Regularly updating your Tech2’s software is essential for optimal performance and compatibility with newer vehicle models,” adds Maria Rodriguez, Lead Technician at AutoTech Diagnostics.
Conclusion
Performing diagnostics using a Tech2 scanner tool, complemented by video resources, is an effective way to identify and resolve automotive issues. By following the steps outlined above and leveraging online resources, car owners, repair shop managers, and automotive technicians can confidently use the Tech2 scanner for accurate and efficient diagnostics. For personalized support and expert advice on using the Tech2 scanner, connect with us at CARW Workshop. Call us at +1 (641) 206-8880 or visit our office at 4 Villa Wy, Shoshoni, Wyoming, United States.
 Tech2 Scanner Software Update
FAQ
- What is a Tech2 scanner? A Tech2 scanner is a sophisticated diagnostic tool used for GM vehicles, enabling users to read and clear trouble codes, access module data, and perform actuator tests.
- Where can I find Tech2 scanner video tutorials? Search for “performing diagnostics using Tech2 scanner tool video” on platforms like YouTube.
- How do I connect the Tech2 scanner to my vehicle? Connect the scanner to the OBD-II port, usually located under the dashboard on the driver’s side.
- What if my Tech2 scanner isn’t communicating with the vehicle? Check the connection and ensure the scanner’s software is updated.
- Can I use a Tech2 scanner on non-GM vehicles? The Tech2 is primarily designed for GM vehicles, although some adapters might exist for other makes.
- Where can I purchase a Tech2 scanner? Various online retailers and automotive tool suppliers offer Tech2 scanners.
- What are the benefits of using a Tech2 scanner over a generic OBD-II scanner? The Tech2 offers more in-depth diagnostic capabilities, including module-specific access and bi-directional controls, compared to generic OBD-II scanners.
