To begin using your Innova car scanner for vehicle diagnostics, the first crucial step is establishing a connection to your car’s computer. This is done through the OBD2 port, a standardized interface found in most vehicles manufactured from 1996 onwards. Locate the OBD2 port, which is typically situated under the dashboard on the driver’s side. Once you’ve found it, firmly plug your Innova scan tool into the OBD2 port. Ensure it’s securely connected to establish a reliable communication pathway for reading diagnostic trouble codes.
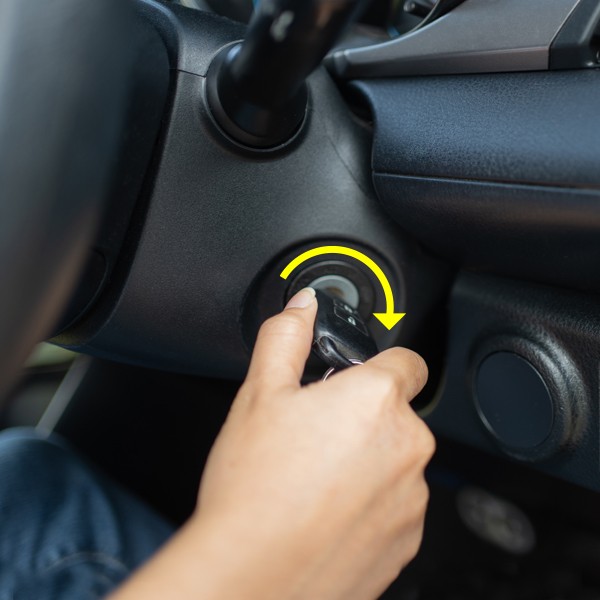
After physically connecting your Innova car scanner, the next step is to prepare your vehicle for communication. Turn your car’s ignition to the ON or IDLE position. This action powers up the vehicle’s computer system and allows the Innova scanner to initiate communication. The scanner will automatically begin the process of identifying your vehicle, usually by retrieving the VIN (Vehicle Identification Number). This VIN is essential for the scanner to correctly interpret and display the diagnostic information specific to your car. Once the VIN is identified, the Innova car scanner will establish a connection with your vehicle’s computer, enabling it to read and present any stored diagnostic trouble codes.
Note: Innova car scanners are designed for flexibility, allowing for code reading even with the engine running. Certain advanced features available on select Innova scan tools may even require the engine to be running for full functionality. If you need to run the engine, it’s important to first start the engine and then connect your Innova scan tool afterwards to ensure proper operation and accurate readings.
Once your Innova car scanner successfully communicates with your vehicle, the initial display will often present any active check engine diagnostic trouble codes immediately on the screen. These codes are typically listed in order of severity, helping you prioritize which issues might need attention first. Alongside each code, the Innova scanner provides a brief description of its meaning, giving you context for the potential problem. If multiple codes are present, you can easily navigate through the list using the UP ▲ and DOWN ▼ buttons on your Innova scanner to view each one.
To explore further diagnostic options and delve deeper into your vehicle’s systems, press the System Status button located on the left side of your Innova scan tool. This button will take you to a menu that offers access to a broader range of diagnostic trouble code options beyond just the check engine light.
Upon entering the System Status menu, use the UP ▲ and DOWN ▼ buttons to navigate through the available selections. Depending on your Innova scanner model and your vehicle’s systems, you might see options to read diagnostic trouble codes from various modules. In this example, the 5210 Innova scan tool is shown reading global OBD2 (Check engine) codes as well as ABS (Anti-lock Brake System) diagnostic trouble codes. Select the system you wish to investigate further, such as ABS or other available options, and then press ENTER ↵ to proceed and view the diagnostic trouble codes specific to that system.
When you have finished using your Innova car scanner to view the check engine codes or other diagnostic information, safely disconnect the tool from your vehicle. Before removing the wired connection from the OBD2 port, it is crucial to turn the ignition OFF. This ensures a safe disconnection process and protects your vehicle’s electrical system. Importantly, your Innova scan tool is designed to store the vehicle data and diagnostic information in its internal memory, allowing you to review the data later even after disconnecting from the car.