
Diagnosing car problems used to require a trip to a mechanic, often accompanied by hefty fees and confusing jargon. Fortunately, with the advent of OBD2 scanners, understanding your vehicle’s health has become much more accessible. Innova car scanners are popular tools for DIY car enthusiasts and professionals alike, offering a user-friendly way to read and interpret diagnostic trouble codes. This guide will walk you through the process of how to use an Innova car scanner to effectively diagnose your vehicle’s issues.
The process is straightforward, even for those with limited automotive experience. By following these simple steps, you can quickly access valuable information about your car’s condition and take informed decisions about maintenance and repairs.
Step 1: Locating the OBD2 Port
The first step in using your Innova car scanner is to locate the OBD2 (On-Board Diagnostics II) port in your vehicle. This port is standardized across most cars and light trucks manufactured after 1996. It’s usually found inside the cabin, typically under the dashboard on the driver’s side. Look for a 16-pin connector, often trapezoidal in shape. Common locations include beneath the steering column, near the pedals, or sometimes concealed by a small cover.
Once you’ve located the OBD2 port, ensure it’s easily accessible and clear of any obstructions. This will allow for a secure and stable connection with your Innova scanner.
Step 2: Connecting Your Innova Scanner
With the OBD2 port located, you’re ready to connect your Innova car scanner. Most Innova scanners are wired devices that plug directly into this port.
Establishing Communication
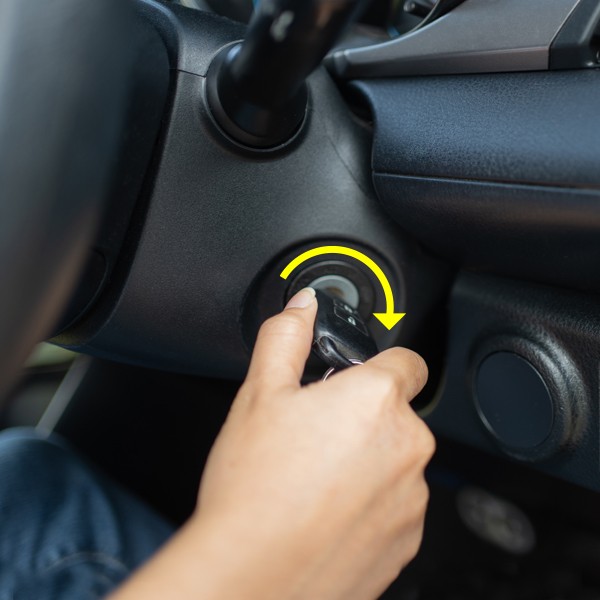
Before plugging in the scanner, turn your vehicle’s ignition to the ON or IDLE position. This is crucial for the scanner to establish communication with your car’s computer system. Do not start the engine yet unless specifically instructed by your Innova scanner’s manual for certain advanced functions.
Now, firmly plug the Innova scanner’s connector into the OBD2 port. You should feel it click into place, ensuring a secure connection. Once connected and the ignition is in the correct position, the Innova scanner will automatically power on and begin the process of communicating with your vehicle. The scanner will typically automatically retrieve your Vehicle Identification Number (VIN) and then connect to the car’s computer system.
Note: Some advanced features on Innova scan tools may require the engine to be running. If this is the case for the function you are using, always start the engine before connecting the scan tool.
Step 3: Reading Diagnostic Trouble Codes
Once the Innova scanner successfully communicates with your vehicle’s computer, it will begin to display diagnostic information.
Accessing the System Status Menu for Diagnostic Trouble Codes
In many cases, if there are any active diagnostic trouble codes (DTCs), especially related to the check engine light, they will be displayed immediately on the scanner’s screen after establishing communication. These codes are often listed in order of severity and accompanied by a brief description of the issue they represent.
Use the UP ▲ and DOWN ▼ buttons on your Innova scanner to scroll through any displayed codes if multiple issues are detected. For a more comprehensive diagnostic overview, look for a System Status or similar button on your scanner. Pressing this button will typically take you to a menu offering options to read codes from various vehicle systems.
Depending on your Innova scanner model, you may be able to access codes beyond the basic check engine light, such as ABS (Anti-lock Braking System), SRS (Supplemental Restraint System/Airbag), and Transmission codes. Navigate through the menu using the UP ▲ and DOWN ▼ buttons to select the system you wish to check and then press ENTER ↵ to confirm your selection and retrieve codes for that system.
Step 4: Disconnecting the Scanner
After you have finished reviewing the diagnostic trouble codes and any other desired information, you can safely disconnect the Innova scanner.
Before disconnecting, ensure you turn the vehicle’s ignition OFF. This is important to prevent any potential electrical issues or data corruption. Once the ignition is off, you can unplug the Innova scanner from the OBD2 port.
Most Innova scanners are designed to store the vehicle data and scan results in their internal memory. This allows you to review the information later, even after disconnecting the scanner from the vehicle. Consult your Innova scanner’s user manual for specific instructions on data storage and retrieval.
By following these steps, you can effectively use an Innova car scanner to diagnose your vehicle’s health, understand potential issues, and make informed decisions about maintenance and repair. This empowers you to take a proactive approach to car care and potentially save time and money on unnecessary mechanic visits.