
Connecting a code scanner to your car is a simple process that can save you time and money on repairs. This guide will walk you through the steps of using a code scanner, from locating the OBD-II port to understanding the codes it retrieves. Let’s get started!
Locating the OBD-II Port
The OBD-II (On-Board Diagnostics) port is a standardized 16-pin connector found in most vehicles manufactured after 1996. It’s typically located under the driver’s side dashboard, near the steering column. In some cases, it might be hidden in the center console, glove compartment, or under the passenger side dash. The port is trapezoidal in shape and may have a cover.
 OBD-II port location under the dashboard
Connecting the Code Scanner
Once you’ve found the OBD-II port, connecting the code scanner is straightforward:
- Turn Off the Ignition: Ensure your car’s ignition is switched off before connecting any device to the OBD-II port.
- Connect the Scanner: Align the scanner’s connector with the port and firmly push it in. It should fit snugly and only connects one way.
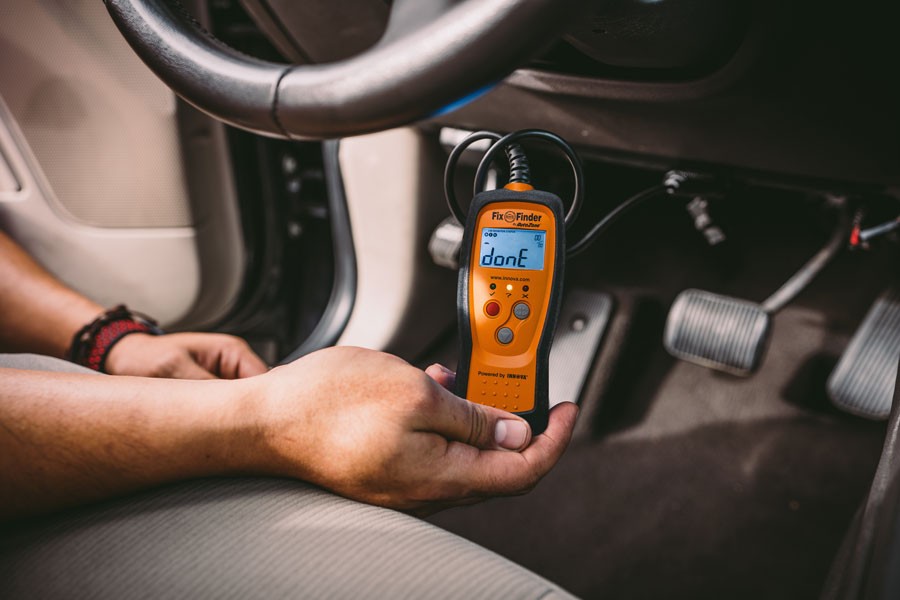
- Turn the Ignition On: Turn the ignition key to the “On” position (do not start the engine). This will power up the scanner. Some scanners may require the engine to be running. Consult your scanner’s manual for specific instructions.
- Wait for Initialization: The scanner will boot up and may ask for vehicle information like the VIN (Vehicle Identification Number) or engine size.
Navigating the Scanner Menu
After the scanner initializes, you’ll see a menu with various options:
- Read Codes: This option retrieves Diagnostic Trouble Codes (DTCs) stored in the car’s computer, indicating potential issues.
- Erase Codes: Use this to clear DTCs after repairs are made. Caution: Clearing codes can temporarily reset monitors and may impact emissions testing readiness.
- Live Data: This displays real-time sensor readings, allowing you to monitor various parameters like engine speed, coolant temperature, and oxygen sensor voltage.
- Freeze Frame: Captures sensor data at the moment a DTC was set, providing valuable diagnostic information.
- Vehicle Info: Displays vehicle-specific data like VIN, calibration IDs, and CVN (Calibration Verification Number).
- I/M Readiness: Shows the status of the emissions system monitors. This is important for emissions testing.
Understanding Diagnostic Trouble Codes (DTCs)
DTCs are alphanumeric codes that follow a specific format:
- Letter: Indicates the system related to the fault (P: Powertrain, B: Body, C: Chassis, U: Network).
- First Number: 0 indicates a generic code; 1 indicates a manufacturer-specific code.
- Second Number: Identifies the subsystem (e.g., fuel and air, ignition, auxiliary emissions).
- Third and Fourth Numbers: Pinpoint the specific fault within the subsystem.
For example, P0301 indicates a generic powertrain code for a misfire in cylinder 1.
Using the Code Scanner for DIY Repairs
A code scanner empowers you to diagnose car problems yourself, potentially saving money on mechanic fees. You can research the meaning of DTCs online or use a code scanner with built-in definitions. However, remember that a DTC points to a potential problem area, not necessarily the exact fault. Further diagnosis may be required.
Conclusion
Knowing how to use a code scanner on your car is a valuable skill for any car owner. It allows you to understand potential problems, monitor your car’s health, and potentially save money on repairs. While a code scanner doesn’t replace a professional mechanic, it’s an essential tool for DIY car maintenance and troubleshooting.