Testing an oxygen sensor is crucial for maintaining optimal engine performance and fuel efficiency. A faulty oxygen sensor can lead to a variety of issues, from increased emissions to reduced gas mileage. Knowing How To Test Oxygen Sensor With Scan Tool empowers you to diagnose problems quickly and effectively. This guide will walk you through the process, offering practical advice and expert insights for both DIY enthusiasts and professional mechanics.
Similar to using obd2 scan tool testing oxygen sensor, the process involves connecting a scan tool to your vehicle’s OBD-II port and monitoring specific data streams.
Understanding Oxygen Sensor Function and Importance
Oxygen sensors, also known as O2 sensors, are vital components of your vehicle’s emissions control system. They measure the amount of unburned oxygen in the exhaust gases, providing crucial information to the engine control unit (ECU). This data allows the ECU to adjust the air-fuel mixture, ensuring optimal combustion and minimizing harmful emissions. A malfunctioning sensor can disrupt this delicate balance, leading to several problems.
Common Symptoms of a Failing Oxygen Sensor
Several signs might indicate a failing oxygen sensor. These include:
- Check Engine Light: This is often the first and most obvious sign.
- Reduced Fuel Economy: A failing sensor can cause the engine to run rich, wasting fuel.
- Rough Idle or Misfires: Incorrect air-fuel mixtures can lead to engine performance issues.
- Increased Emissions: A faulty sensor can negatively impact your vehicle’s emissions levels.
- Failed Emissions Test: This is a direct consequence of increased emissions.
Required Tools and Preparations
Before starting the test, gather the necessary tools:
- OBD-II Scan Tool: Choose a scan tool that can read live data streams.
- Vehicle Repair Manual: This provides specific information about your vehicle’s oxygen sensor locations and wiring.
Ensure your vehicle is parked on a level surface and the engine is at operating temperature.
Step-by-Step Guide: How to Test Oxygen Sensor with Scan Tool
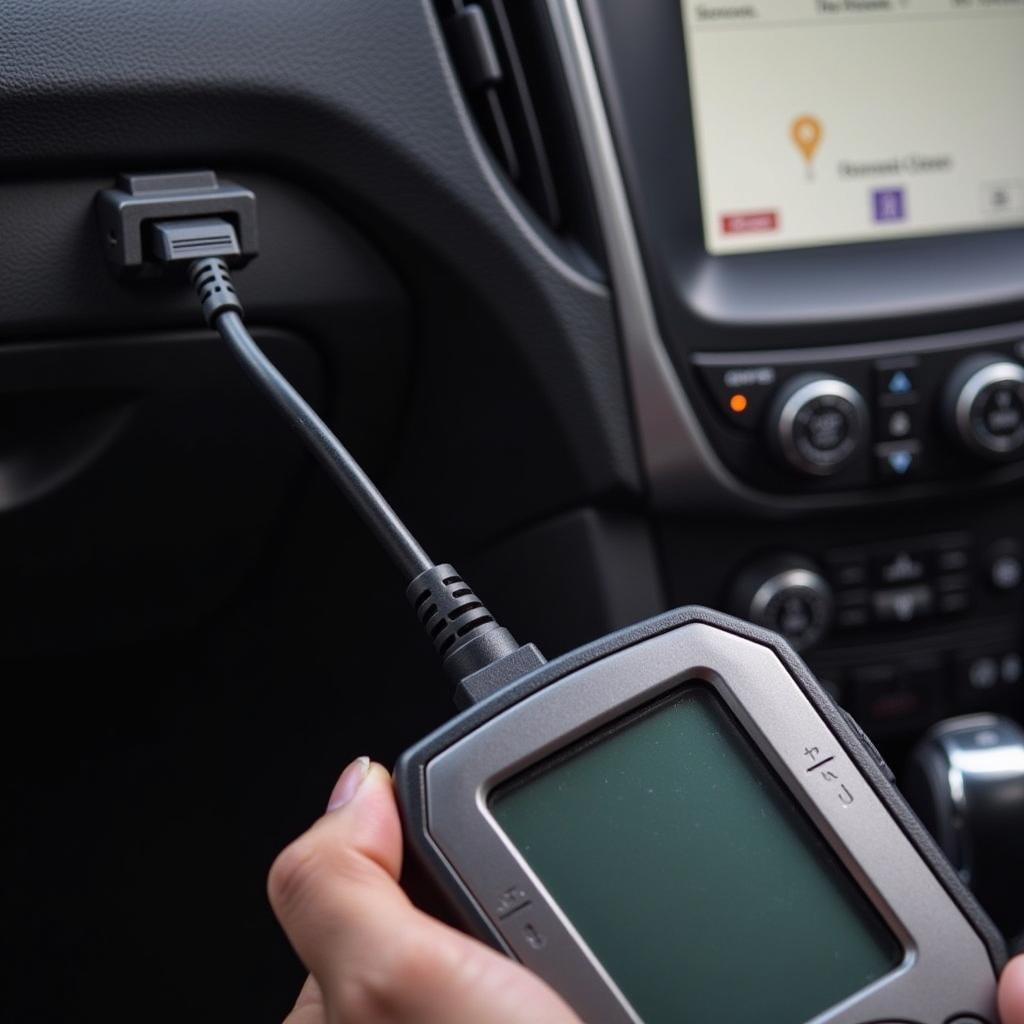
- Connect the Scan Tool: Plug the scan tool into the OBD-II port, usually located under the dashboard on the driver’s side.
- Turn on the Ignition: Turn the ignition key to the “on” position without starting the engine.
- Access Live Data: Navigate to the “Live Data” or equivalent section on your scan tool.
- Locate Oxygen Sensor Data: Find the Parameter IDs (PIDs) for the oxygen sensors. These are usually labeled as “O2 Sensor Bank 1 Sensor 1,” “O2 Sensor Bank 1 Sensor 2,” etc.
- Observe Voltage Readings: A properly functioning upstream oxygen sensor should fluctuate between 0.1 and 0.9 volts. A downstream sensor will typically show a more stable voltage.
Interpreting the Results
- Slow Response: If the voltage changes slowly or gets stuck at a specific value, it indicates a sluggish sensor. This often happens due to contamination or aging.
- No Fluctuation: A sensor stuck at a high or low voltage signals a complete failure.
- Out of Range: Voltage readings consistently outside the normal range also point towards a faulty sensor.
This process is also outlined in detail in our scan tool pids pdf.
Advanced Diagnostic Techniques
For a more in-depth analysis, consider these advanced techniques:
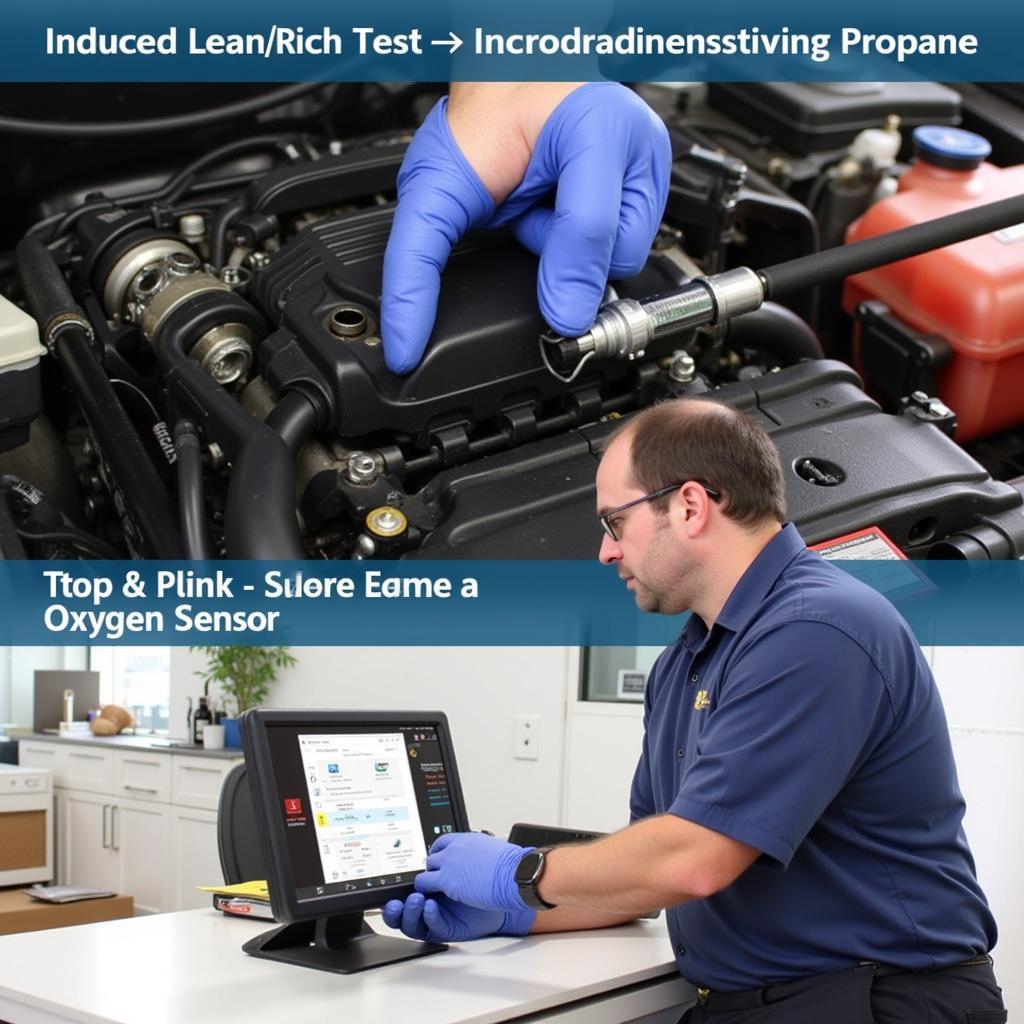
- Induced Lean/Rich Test: This test involves introducing a small amount of propane or a vacuum leak to observe the sensor’s response.
- Sensor Heater Test: Most modern oxygen sensors have a built-in heater. You can use your scan tool to monitor the heater circuit’s operation.
This is especially useful when dealing with issues similar to a bad front o2 sensor with scan tool.
 Advanced Oxygen Sensor Testing with Induced Lean/Rich Test
When to Replace an Oxygen Sensor
If your testing reveals a faulty sensor, replacement is necessary. While some may attempt cleaning, replacement is generally recommended for optimal performance.
Preventing Future Oxygen Sensor Problems
- Regular Maintenance: Follow your vehicle’s recommended maintenance schedule.
- Quality Fuel: Use good quality fuel to avoid contaminating the sensors.
- Avoid Fuel Additives: Unless specifically recommended by your vehicle manufacturer, avoid using fuel additives.
“Regularly checking your oxygen sensors can prevent costly repairs down the road,” advises John Smith, ASE Certified Master Technician at Smith Automotive.
“Using a quality scan tool, like the ones available at CARW Workshop, can make diagnosing oxygen sensor issues much easier,” adds Jane Doe, Lead Technician at Doe’s Auto Repair.
For complex issues, an offcat scan tool might be necessary. It provides access to manufacturer-specific data and advanced diagnostic capabilities.
Conclusion
Knowing how to test oxygen sensor with scan tool is a valuable skill for any car owner or mechanic. This guide provides a comprehensive understanding of the process, from interpreting readings to preventative measures. By following these steps, you can maintain optimal engine performance, fuel efficiency, and reduce emissions. For personalized assistance and further information, please contact CARW Workshop at +1 (641) 206-8880 or visit our office at 4 Villa Wy, Shoshoni, Wyoming, United States. We are happy to help you with any questions or concerns. We also have information about specific vehicles, such as the silverado scan tool.


One Response