Running diagnostics on your Dell computer is a crucial step in identifying and troubleshooting hardware issues. Dell’s diagnostic tools are designed to thoroughly test your computer’s components, helping you pinpoint the root cause of problems. Whether you’re experiencing slow performance, unexpected shutdowns, or other issues, knowing How To Run The Dell Diagnostics Tool can save you time and effort in resolving them.
Understanding the Different Dell Diagnostic Tools
Dell offers several diagnostic tools tailored to different needs and situations. Here’s a breakdown of the most common ones:
-
Pre-boot System Assessment (PSA) Diagnostics: This quick test, also known as the 32-bit Diagnostics, checks the basic functionality of your computer’s core components, such as the processor, memory, hard drive, and display. You can access it by pressing F12 repeatedly during startup.
-
Enhanced Diagnostics: Accessible within the PSA menu, Enhanced Diagnostics provides more in-depth testing of your hardware. This includes options for specific components like the keyboard, touchpad, and USB ports.
-
Dell SupportAssist: This comprehensive diagnostic and support tool runs within your Windows operating system. SupportAssist offers various tests, including hardware scans, performance checks, and driver updates. You can usually find it pre-installed on your Dell computer or download it from the Dell support website.
-
Dell Online Diagnostics: If your computer cannot boot into Windows, you can access online diagnostics through the Dell support website. This option allows you to run tests on your hardware remotely.
How to Run Dell Diagnostics Tool: Step-by-Step Guide
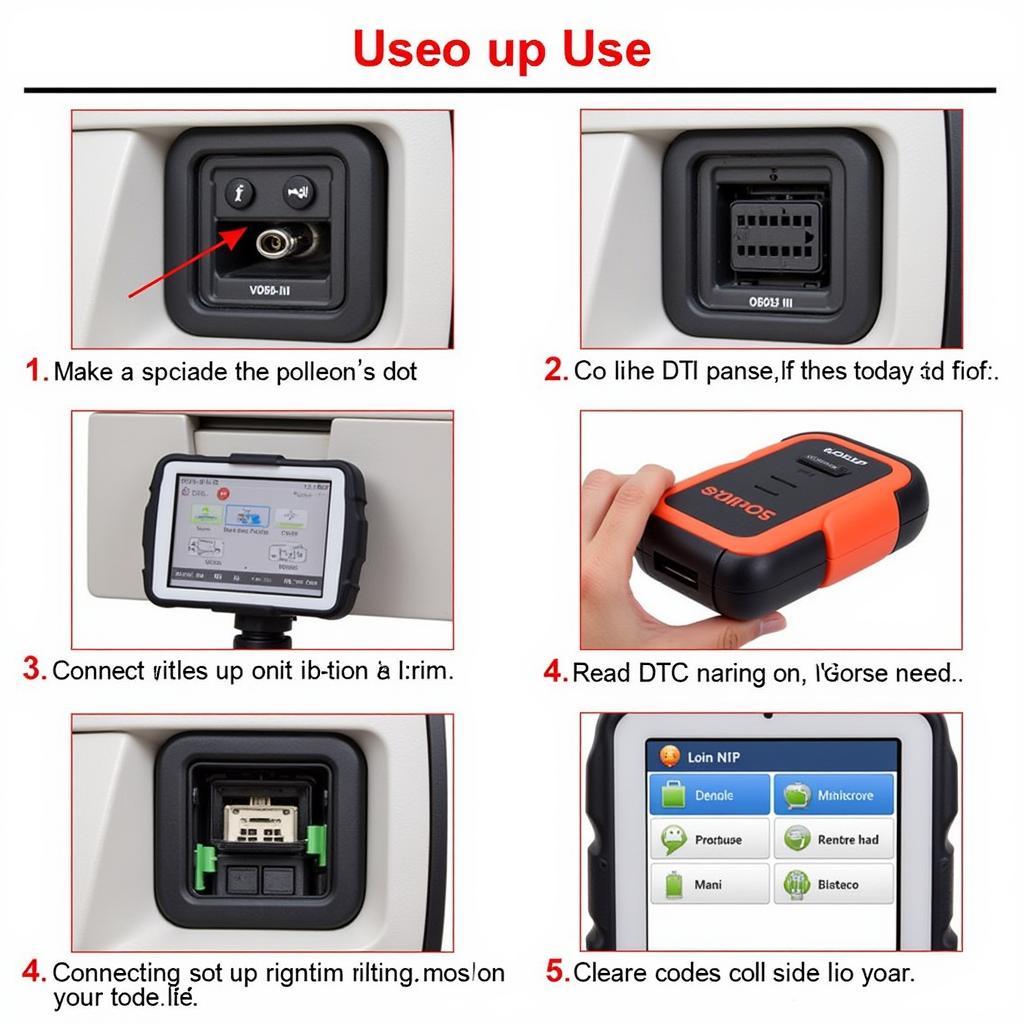
The specific steps to run Dell diagnostics may vary slightly depending on your computer model and the tool you choose. However, the general process remains similar. Here’s a step-by-step guide for running Dell diagnostics:
1. Back Up Your Data
Before running any diagnostics, it’s essential to back up your important data. While diagnostics themselves don’t usually modify your files, troubleshooting hardware issues might require actions that could potentially lead to data loss.
2. Accessing Dell Diagnostics
-
Pre-boot System Assessment (PSA) Diagnostics:
- Turn on or restart your Dell computer.
- As soon as the Dell logo appears, press the F12 key repeatedly until you see the boot menu.
- Use the arrow keys to select Diagnostics or a similar option from the menu, then press Enter.
-
Enhanced Diagnostics:
- Follow the steps for accessing PSA Diagnostics.
- Once in the PSA menu, look for an option like Run Enhanced Diagnostics or Custom Test.
- Select the desired option and press Enter.
-
Dell SupportAssist:
- Search for “SupportAssist” in the Windows search bar and click on the app.
- If SupportAssist isn’t installed, download it from the Dell support website for your computer model.
- Once SupportAssist is open, click on the Hardware tab.
- Choose the specific diagnostic test you want to run, such as a full scan or a targeted component test.
-
Dell Online Diagnostics:
- Go to the Dell support website.
- Enter your computer’s service tag or express service code, which you can usually find on a sticker on the back or bottom of your laptop.
- Navigate to the Diagnostics section for your computer model.
- Follow the on-screen instructions to initiate the online diagnostic tests.
3. Running the Diagnostics
Once you’ve accessed the desired Dell diagnostic tool, the interface will guide you through the process. You’ll typically have the option to run a Quick Test for basic checks or a Thorough Test for more comprehensive diagnostics. Follow these general instructions:
- Select the desired test type and follow the on-screen prompts.
- The diagnostic tool will begin testing your computer’s components. This process might take some time, especially for thorough tests.
- Observe the screen for any error messages, warning codes, or test results.
4. Understanding the Results
After the diagnostics are complete, you’ll typically see a report summarizing the findings. The report might include:
- Pass: Indicates the component passed the test.
- Fail: Indicates the component failed the test. An error code is usually provided for further investigation.
- Warning: Indicates a potential issue with the component.
“Regularly running diagnostics is essential for proactive computer maintenance,” says John Smith, Senior IT Technician at Tech Solutions Inc. “It’s like giving your computer a health checkup to catch potential problems early on.”
5. Troubleshooting Issues
If the diagnostics reveal any issues, note down the error codes or warning messages. You can use these codes to search for solutions on the Dell support website or contact Dell technical support for assistance.
6. Documenting the Findings
Whether the diagnostics find issues or not, documenting the results is a good practice. This information can be valuable for future troubleshooting or if you need to contact Dell support.
FAQs about Dell Diagnostics
Q: How often should I run Dell diagnostics?
A: It’s recommended to run Dell diagnostics at least once every few months as part of regular computer maintenance. Additionally, run them if you experience any hardware-related issues or after making significant changes to your computer’s hardware or software.
Q: What should I do if Dell diagnostics find an error?
A: If an error is detected, note down the error code and consult the Dell support website or contact Dell technical support for guidance on resolving the issue.
Q: Can I run Dell diagnostics on a Dell laptop?
A: Yes, the Dell diagnostics tools are available for both Dell laptops and desktops.
Q: Are Dell diagnostics free to use?
A: Yes, Dell diagnostics tools are generally free to use. However, some online diagnostic services might require a fee for advanced troubleshooting or repair recommendations.
Q: Can Dell diagnostics fix software problems?
A: While Dell diagnostics primarily focus on hardware issues, they might detect some software-related problems. However, for specific software troubleshooting, it’s best to use other tools and resources.
Need Further Assistance?
If you need help running the Dell diagnostics tool or require further assistance with your Dell computer, you can visit the Dell Studio Battery Diagnostic Tool for more information. You can also contact CARW Workshop for expert help at +1 (641) 206-8880 or visit our office at 4 Villa Wy, Shoshoni, Wyoming, United States.


