Dealing with the dreaded “Hardware problems detected” message after running the Windows Memory Diagnostic Tool can be frustrating. This guide is here to help you understand what this message means and provide you with practical steps to troubleshoot and potentially resolve the issue.
Let’s dive in and demystify those memory problems!
Decoding the “Hardware Problems Detected” Message
The Windows Memory Diagnostic Tool is a valuable utility built into Windows operating systems. It’s designed to test your computer’s Random Access Memory (RAM) for errors. When the tool flags “hardware problems detected,” it indicates potential issues with your RAM modules or, in rarer cases, the memory slots on your motherboard.
But don’t panic just yet! This message doesn’t always mean a complete hardware failure. Often, it can be resolved with some troubleshooting.
Common Causes of RAM Errors
Understanding the potential causes of RAM errors can help you pinpoint the root of the problem:
- Faulty RAM Modules: The most common culprit is a failing or faulty RAM stick.
- Loose RAM Seating: Sometimes, a RAM module might have become slightly dislodged, leading to connection problems.
- Overclocking: Running your RAM at speeds higher than its factory settings (overclocking) can sometimes lead to instability and errors.
- Dust and Debris: Accumulated dust can interfere with the electrical contacts in the RAM slots.
- Failing Motherboard: While less common, a failing motherboard could be the underlying cause of the memory errors.
Troubleshooting Steps: From Simple to Advanced
Before you jump to conclusions, let’s work through these troubleshooting steps to isolate and address the problem:
1. Reseat Your RAM Modules
This simple step can work wonders:
- Power Down your computer completely.
- Open your computer case and locate the RAM slots on the motherboard.
- Gently push down on the clips at both ends of each RAM slot to release the modules.
- Carefully remove the RAM modules from their slots.
- Use a can of compressed air to blow away any dust from the RAM slots and modules.
- Align the notch on the RAM module with the notch in the RAM slot and gently push it in until it clicks into place.
- Close your computer case and power it back on.
After reseating, run the Windows Memory Diagnostic Tool again. If the problem persists, move on to the next step.
2. Test RAM Modules Individually
To identify if a specific RAM module is faulty, test each one separately:
- Power down your computer and remove all but one RAM module.
- Run the Windows Memory Diagnostic Tool with the single module installed.
- Repeat this process for each RAM module you have.
If the error occurs only with a specific module, it’s likely faulty and needs replacement. If the errors occur with different modules in the same slot, the slot itself might be faulty.
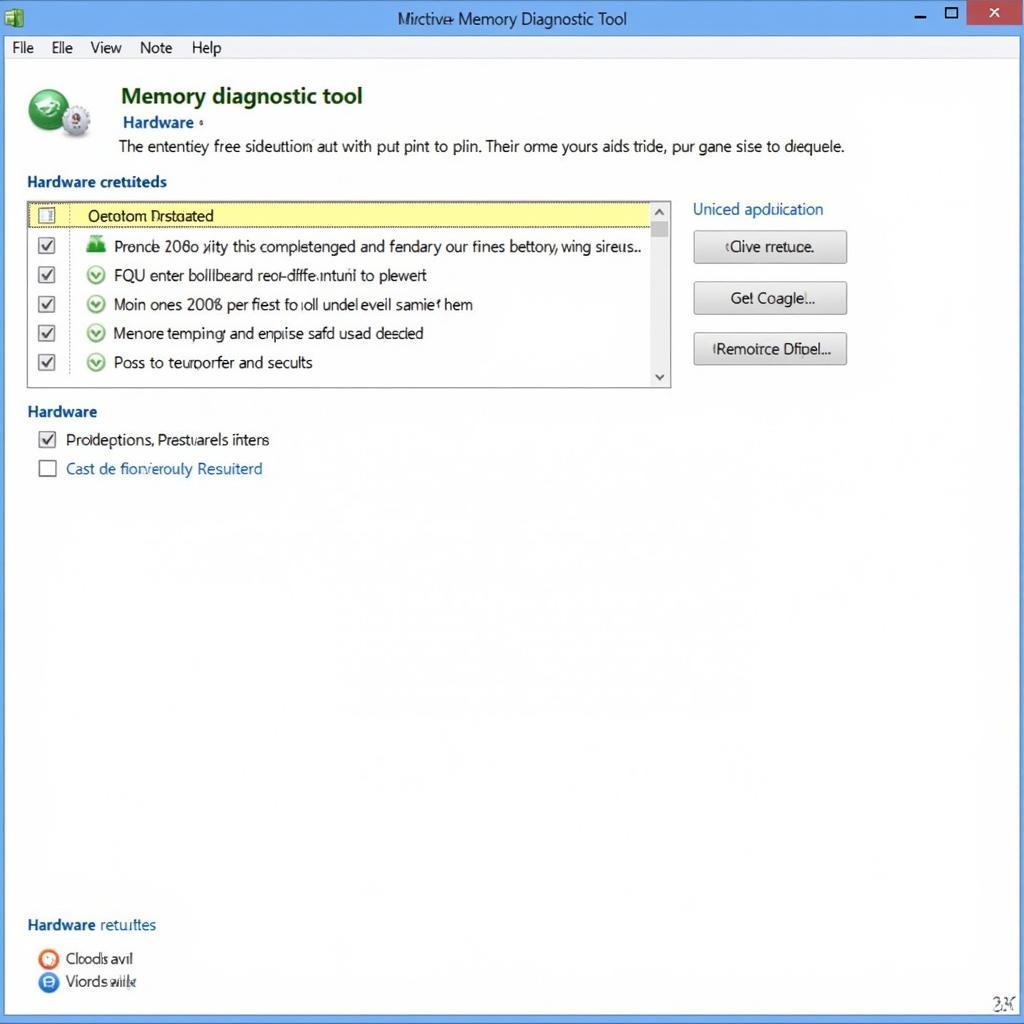 Windows Memory Diagnostic Tool Results
3. Check for Overclocking
If you’ve overclocked your RAM, try reverting it to its default settings:
- Access your BIOS/UEFI settings by pressing the designated key during startup (usually Del, F2, or F12).
- Locate the RAM settings (usually under “Advanced Chipset Features” or similar).
- Set the RAM speed and timings back to their default values (often labeled “Auto”).
- Save the changes and exit BIOS.
Run the Windows 7 memory diagnostic tool again. If the errors disappear, the previous overclocking settings were likely unstable.
4. Run a Memory Test from a Bootable USB
Sometimes, the Windows Memory Diagnostic Tool might not catch all errors. Consider using a more robust memory testing tool like Memtest86+:
- Download Memtest86+ from a reputable source.
- Create a bootable USB drive using a tool like Rufus.
- Boot your computer from the Memtest86+ USB drive.
- Let the memory test run for several passes (ideally overnight).
Memtest86+ provides a more thorough analysis and can often detect errors missed by the built-in tool.
5. Consider Professional Diagnosis
If you’ve exhausted these troubleshooting steps and the “hardware problems detected” message persists, it might be time to consult with a qualified computer technician. They have specialized tools and expertise to diagnose complex hardware issues, including:
- Testing RAM modules with professional-grade equipment.
- Inspecting the motherboard for damage or defects.
- Determining if other hardware components are contributing to the errors.
Expert Insights
“RAM errors can be tricky,” says John Smith, Senior Technician at ABC Computer Repair. “While software glitches can often be fixed easily, hardware problems sometimes require a more in-depth approach. Don’t hesitate to seek professional help if you suspect a hardware issue.”
Preventing Future RAM Problems
Here are some proactive measures to reduce the risk of RAM errors:
- Ensure your computer has adequate cooling: Overheating can damage RAM modules.
- Protect your computer from power surges: Use a surge protector to prevent voltage fluctuations.
- Avoid physically bumping or jarring your computer: Impacts can dislodge RAM modules or cause other hardware issues.
- Keep your computer clean: Dust accumulation can lead to overheating and hardware malfunctions.
Conclusion
Encountering the “hardware problems detected” message after running the Windows Memory Diagnostic Tool can be concerning, but it’s not always a reason to panic. By following these troubleshooting steps, you can often isolate and resolve the issue yourself.
If the problem persists, don’t hesitate to reach out to the experts at CARW Workshop for professional assistance. Contact us at +1 (641) 206-8880 or visit our office at 4 Villa Wy, Shoshoni, Wyoming, United States.
We’re here to help you keep your computer running smoothly!
