
For car owners looking to understand and address vehicle issues, a diagnostic scanner, often known as an OBD2 scanner or car code reader, is an invaluable tool. The first step in utilizing this device is properly connecting it to your vehicle. Fortunately, connecting a diagnostic scanner is a straightforward process, designed for ease of use even for those with limited automotive experience. This guide will walk you through connecting your diagnostic scanner, understanding its basic functions, and leveraging it to gain insights into your car’s health.
Locating the OBD2 Port in Your Vehicle
The key to connecting your diagnostic scanner is the OBD2 port. In almost every modern passenger vehicle, this port is standardized for easy access. You’ll typically find it located beneath the dashboard on the driver’s side.
While the most common location is under the driver’s side dash, there are exceptions. In some vehicle models, the OBD2 port might be situated in the center console or even under the dashboard on the passenger side. It’s designed as a female 16-pin connector, easily recognizable by its trapezoidal shape. Before attempting to connect your scanner, take a moment to locate this port in your vehicle. Consulting your car’s owner’s manual can also quickly pinpoint the exact location if you are unsure.
Step-by-Step Guide to Connecting Your Scanner
Connecting the OBD2 scanner is designed to be intuitive. The male connector on your scanner is crafted to fit into the OBD2 port in only one orientation, ensuring a correct and secure connection. Here’s a simple sequence to follow:
-
Turn Off the Ignition: Ensure your vehicle’s ignition is completely off before you begin. This is a standard precaution for any car maintenance task involving electrical components.
-
Connect the Scanner: Take the male end of your diagnostic scanner’s cable and align it with the trapezoidal shape of the OBD2 port you located earlier. Gently push the two connectors together. You might need to apply firm pressure and perhaps a slight wiggle to fully seat the connection. You’ll feel or hear a click once it’s properly connected.
-
Turn the Ignition to the “On” Position: Once the scanner is connected, turn your vehicle’s ignition to the “on” position. This means turning the key or pressing the start button to power up your car’s electronics, but without actually starting the engine.
-
Wait for Scanner to Power Up: In most cases, the OBD2 port itself will provide power to your diagnostic scanner. Give your scanner a moment to boot up. You’ll usually see the scanner’s screen illuminate and display a startup sequence.
-
Follow Scanner Prompts: Once booted, your scanner will guide you through any additional steps. This might involve entering vehicle-specific information such as engine size, VIN (Vehicle Identification Number), or instructions to start the engine, depending on the scanner’s features and the tests you intend to perform.
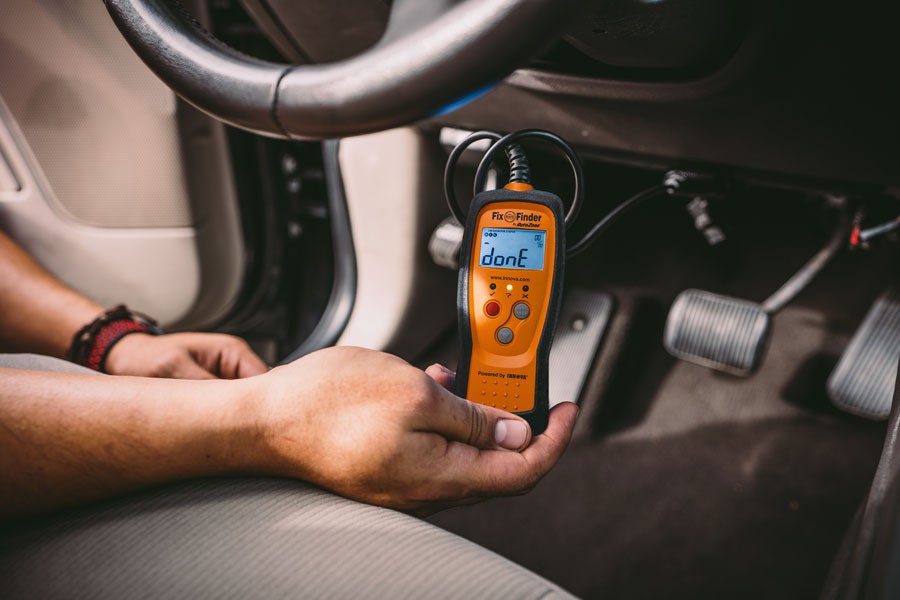 Connecting an OBD2 scanner to the diagnostic port in a car
After these steps, your diagnostic scanner is successfully connected and ready to communicate with your car’s computer system.
Navigating the Scanner Menu Options
Once your scanner is powered and connected, you’ll be presented with a menu on its display. The options available can vary depending on whether you are using a basic code reader or a more advanced professional-grade scan tool. However, common menu options you’ll likely encounter include:
-
Read Codes: This is the primary function for diagnosing issues. Selecting “Read Codes” will command the scanner to retrieve and display any Diagnostic Trouble Codes (DTCs) that are currently stored or pending in your car’s computer modules. Along with the DTC number, some scanners also provide a brief description of the potential fault.
-
Erase Codes: After you’ve addressed the issue indicated by a DTC, you can use the “Erase Codes” function to clear the codes from your car’s computer memory. Scanners typically ask for confirmation before erasing codes to prevent accidental clearing of important diagnostic information. Clearing codes also turns off the Check Engine Light if it was illuminated due to the fault.
-
Live Data: For scanners equipped with this feature, “Live Data” allows you to monitor real-time data from your vehicle’s sensors and systems. This is incredibly useful for observing sensor readings, engine parameters, and other live data points to identify intermittent issues or confirm proper system operation.
-
Freeze Frame: “Freeze Frame” data captures a snapshot of various engine and sensor parameters at the exact moment a DTC was triggered. This information provides valuable context and clues about the conditions under which the fault occurred, aiding in diagnosis.
-
Vehicle Info: This option typically displays basic information about your vehicle, such as the VIN and other build-related data stored in the car’s computer.
-
I/M Readiness: “I/M Readiness” stands for Inspection and Maintenance Readiness. This section checks the status of various emissions-related systems and indicates whether your vehicle is ready for an emissions or smog test. It can highlight potential issues that might cause you to fail an emissions test.
Navigating these menus is usually done using arrow buttons and select or enter buttons on the scanner. Many scanners also include a back button for easy navigation between menus. Even Bluetooth or Wi-Fi enabled scanners controlled via smartphone apps retain similar menu structures for user-friendliness.
Understanding Diagnostic Trouble Codes (DTCs)
When you use the “Read Codes” function, the scanner will display DTCs if any are present. These codes are standardized and follow a specific format: a letter followed by four numerical digits (e.g., P0301).
The initial letter indicates the vehicle system where the fault is detected:
- P (Powertrain): Relates to engine, transmission, fuel, and emission control systems.
- B (Body): Concerns body control systems, including airbags, power windows, and interior electronics.
- C (Chassis): Indicates issues with chassis systems like ABS (Anti-lock Braking System), suspension, and steering.
- U (Network or Communication): Signals problems with the vehicle’s communication network.
The first number following the letter is either a “0” or “1”. “0” signifies a generic code standardized across all manufacturers, while “1” indicates a manufacturer-specific code.
The subsequent digits provide further detail about the specific system and fault. For example, in the code P0301:
- P: Powertrain
- 0: Generic code
- 3: Ignition system or misfire
- 01: Specifically cylinder #1
Therefore, P0301 translates to a generic powertrain code indicating a cylinder #1 misfire. While some scanners provide a brief text description, understanding the DTC structure allows you to start researching the potential cause and solution, often online or in repair manuals.
Benefits of Using a Diagnostic Scanner
Investing in and learning how to use a diagnostic scanner provides several key advantages for car owners:
-
Cost Savings: By identifying the cause of a Check Engine Light or performance issue yourself, you can potentially avoid expensive diagnostic fees at a repair shop.
-
Early Problem Detection: Regular scanning can reveal developing issues before they become major problems, allowing for timely and less costly repairs.
-
Smog Check Readiness: The I/M Readiness function helps ensure your vehicle is likely to pass an emissions test, preventing unexpected failures and re-test fees.
-
DIY Repairs: For those who are comfortable with DIY car maintenance, a scanner empowers you to diagnose and often repair issues yourself. For instance, identifying a faulty oxygen sensor through a DTC allows you to replace it yourself, saving on labor costs.
In conclusion, connecting a diagnostic scanner to your car is a simple yet powerful first step in understanding and maintaining your vehicle’s health. Whether you’re a seasoned DIYer or a car owner wanting to be more informed, mastering this skill can save you time, money, and keep your car running smoothly.