Zinc plating offers a durable, corrosion-resistant finish for metal parts, often seen on automotive hardware. While professional zinc plating services exist, this guide provides a comprehensive DIY approach to achieve similar results at home. This process, using readily available materials, not only protects against rust but also enhances the appearance of metal components.
Understanding the Zinc Plating Process
DIY zinc plating involves creating an electrolyte solution and using a low-voltage power supply to deposit a thin layer of zinc onto a metal part. This electrochemical process requires careful preparation and execution. We’ll cover the necessary materials, solution preparation, part preparation, the plating process itself, and troubleshooting common issues.
Gathering Your Supplies: Zinc Plating Essentials
Before starting, assemble the following materials:
Safety Gear:
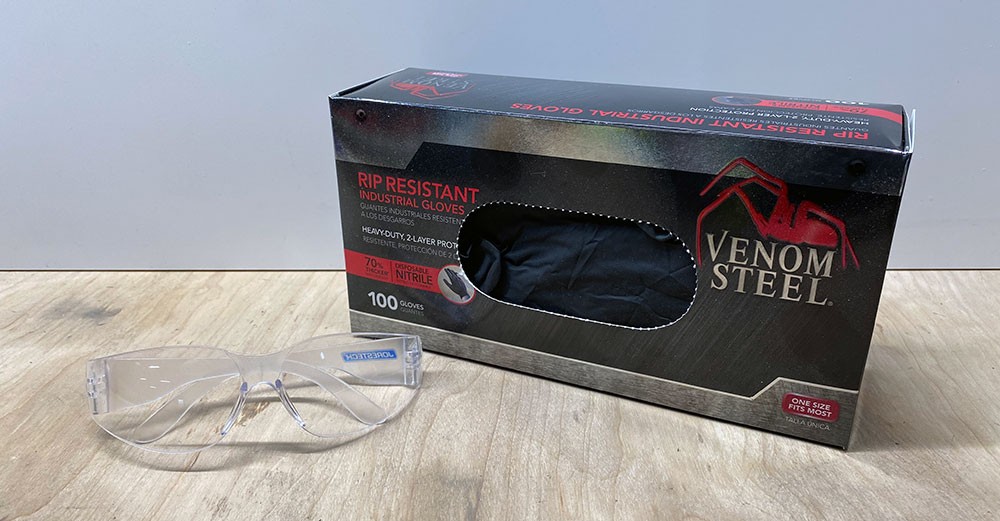
- Nitrile Gloves
- Safety Glasses
Part Preparation:
- Sandblasting equipment (or alternative cleaning method)
- Acetone
- Denatured Alcohol
Plating Solution:
- Distilled Water (1 gallon)
- White Vinegar (1 gallon)
- Epsom Salt (100g)
- Sugar (100g)
- Karo Light Corn Syrup (4oz)
- Zinc Roofing Strip
Tools and Equipment:
- Low-voltage DC power supply (5V, 0.5mA – 2A)
- Wires with alligator clips
- Three plastic containers (5L capacity recommended)
- Brass wire wheel or brush
- Shop towels/paper towels
- Safety wire
- Copper rod (or similar conductive material)
- Scissors
- Wire cutters/Needle-nose pliers
- Measuring cups and scales
Preparing the Zinc Plating Solution
- In a container, combine 3 liters of distilled water and 1.5 liters of white vinegar.
- Add 100g of Epsom salt, 100g of sugar, and 4oz of Karo Light Corn Syrup.
- Mix thoroughly until the ingredients are fully dissolved.
Priming the Solution with Zinc Ions
- Cut two 6-inch zinc strips and bend the ends to hang over the container’s edges.
- Connect the positive power supply lead to one strip and the negative lead to the other. Do not submerge the power supply leads.
- Set the power supply to 5V and 2A for 2-3 hours. Lightly cover the container. This process introduces zinc ions into the solution.
Preparing Parts for Zinc Plating
Thorough cleaning is crucial. Sandblast or use alternative methods to remove rust, old plating, and contaminants. Rinse with acetone and then denatured alcohol. Handle cleaned parts with gloves to avoid contamination. Suspend the parts from a conductive rod using safety wire, ensuring they are fully submerged in the solution without touching each other.
The Zinc Plating Process
- Drape two fresh zinc strips over the container edges, immersing them in the solution. Connect them together with a wire.
- Connect the positive power supply lead to one zinc strip and the negative lead to the part’s suspension wire.
- Apply a current density of approximately 0.060 amps per square inch of part surface area. Adjust plating time (around 15 minutes) based on desired coating thickness. Monitor the part for a medium gray color.
Finishing and Troubleshooting
After plating, rinse the part with distilled water and polish with a brass wire wheel to reveal a shiny zinc finish.
Troubleshooting:
- Uneven Coating: Ensure thorough cleaning and proper part spacing.
- Rough Finish: Reduce amperage for finer zinc crystals.
- Part Damage: Lower amperage to prevent excessive etching.
- Light Plating Around Suspension Wire: Reposition the wire during multiple plating sessions.
This DIY zinc plating guide offers a cost-effective way to protect metal components from corrosion. Remember to prioritize safety and follow instructions carefully for optimal results.


