Spray on tint has become a popular choice for customizing tail lights, offering a sleek, smoked appearance. While seemingly simple, achieving a professional finish requires careful preparation and execution. This guide provides a step-by-step approach to applying Spray On Tint For Tail Lights, ensuring a long-lasting and visually appealing result.
Preparing Your Tail Lights for Tint
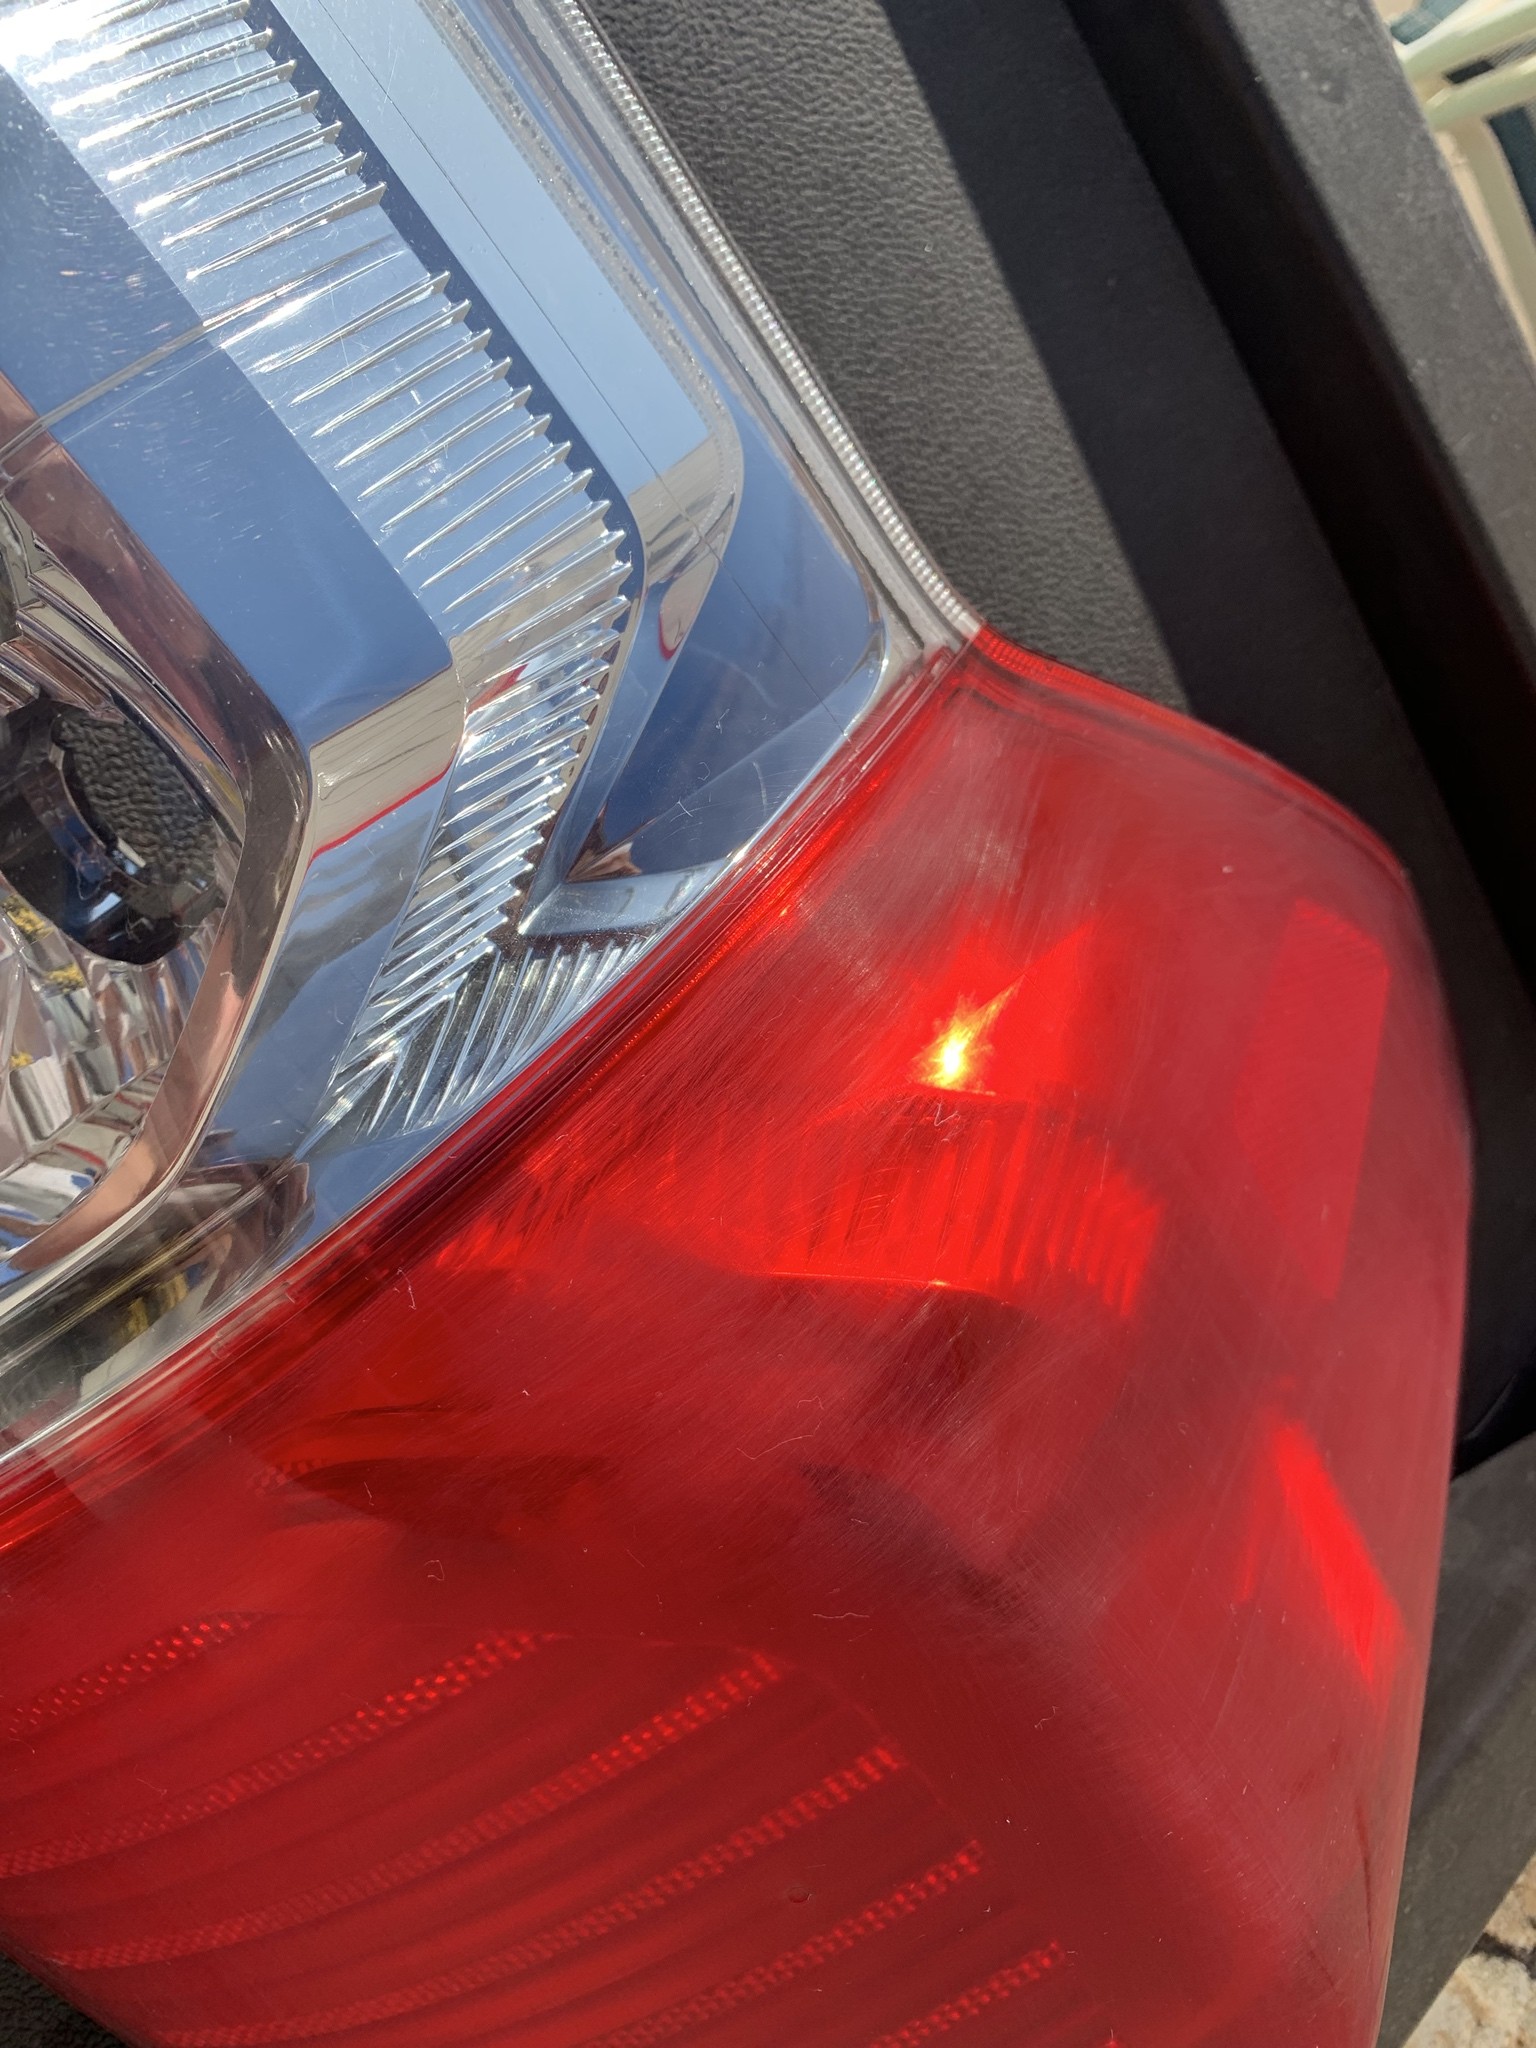
Before applying any tint, thorough preparation is crucial. This involves removing the tail lights from your vehicle to prevent overspray and ensure a cleaner application. Once removed, clean the lenses with glass cleaner or a good wash, then wet sand with 400-grit sandpaper to remove scratches and create a dull surface for better adhesion. Rinse thoroughly and allow the lights to dry completely.
If you want to maintain clear sections on your tail lights, mask off those areas before proceeding to the next step.
Applying the Tint and Clear Coat
After cleaning and prepping the surface with wax and grease remover and allowing it to dry fully, wipe it down with a tack cloth. Applying the tint requires light, even coats. Begin with the edges and work your way around, then cover the larger flat areas. Allow the tint to dry for at least 24 hours for a full cure.
Once dry, wet sand the tint with 2000-grit sandpaper to achieve a smooth, even finish. This step is crucial for leveling out the darkness and ensuring a professional look. Be mindful of edges and corners, as the tint is thinner in these areas. Rinse the lights to inspect your work.
The final step involves applying 2K automotive clear coat. This will protect the tint, enhance its appearance, and provide UV protection to prevent fading. Apply 3-4 medium-wet coats in 10-minute intervals, starting with a light tack coat. While rubbing alcohol is generally used for prep, it’s recommended to avoid it with VHT Nite Shades, as it may cause streaking.
Finishing Touches for a Professional Finish
For an even more refined finish, allow the clear coat to cure for a few days in the sun, then wet sand with 2000-grit sandpaper and buff to a high shine. Finally, apply your favorite wax to protect the finish and maintain its luster.
By following these steps, you can achieve professional-looking results with spray on tint for your tail lights, enjoying a customized appearance that will last for years to come. Remember, patience and attention to detail are key to a successful application.