Connecting a car diagnostic scanner, also known as an OBD2 scanner, is a straightforward process that can empower you to understand your vehicle’s health. This guide provides a step-by-step approach on How To Use A Scanner On A Car, decipher the codes, and potentially save on auto repairs.
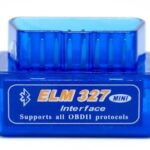
Locating and Connecting the OBD2 Port
The OBD2 port, a 16-pin trapezoidal connector, is typically located under the driver’s side dashboard. However, it can sometimes be found in the center console or under the passenger side dash. Connecting the scanner is simple: align the trapezoidal shapes and firmly push the connectors together. A slight wiggle might be needed for a secure connection.
Here’s the recommended connection procedure:
- Ignition Off: Ensure your car’s ignition is turned off before starting.
- Connect Scanner: Plug the scanner into the OBD2 port.
- Ignition On: Turn the ignition to the “on” position without starting the engine. This powers up the scanner in most cases.
- Boot Sequence: Allow the scanner to complete its boot-up sequence.
- Vehicle Information: The scanner may prompt you for vehicle information like engine size or VIN.
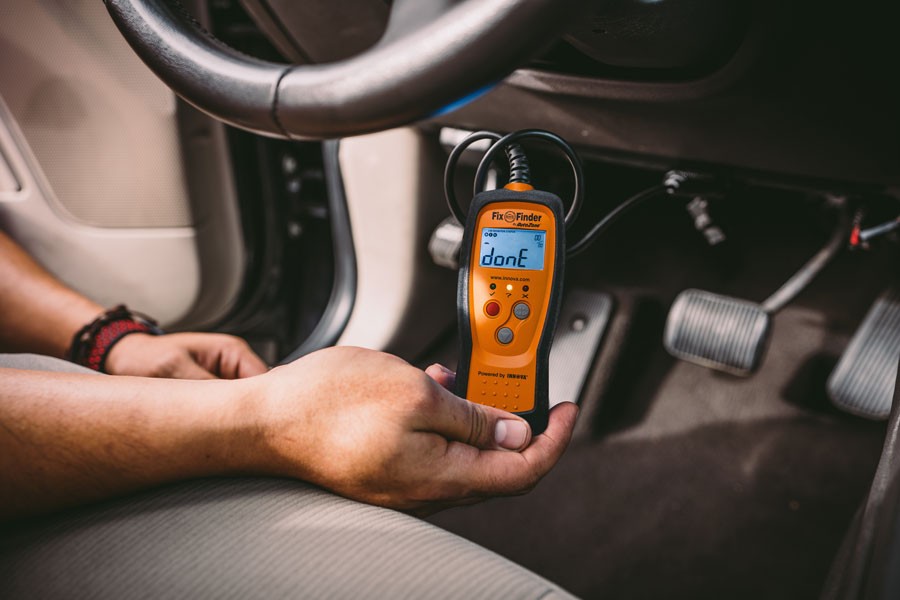 Connecting an OBD2 scanner to the port under the dashboard.
Navigating the Scanner Menu
Once booted, the scanner displays a menu with various options. These options vary depending on the scanner type – basic code reader or advanced diagnostic tool. Common options include:
- Read Codes: Displays Diagnostic Trouble Codes (DTCs) indicating potential issues.
- Erase Codes: Clears stored DTCs after repairs. Always confirm before erasing to avoid accidental deletion.
- Live Data: Provides real-time sensor readings to monitor vehicle performance. This helps identify sensors operating outside normal parameters.
- Freeze Frame: Captures vehicle data at the moment a DTC was set, aiding in diagnosis.
- Vehicle Info: Displays vehicle-specific information.
- I/M Readiness: Shows emissions-related data relevant to smog checks.
Understanding Diagnostic Trouble Codes (DTCs)
When you select “Read Codes,” the scanner displays codes in a specific format: one letter followed by four numbers (e.g., P0301).
-
Letter: Indicates the system with the fault:
- P: Powertrain (engine, transmission, emissions)
- B: Body (airbags, interior systems)
- C: Chassis (suspension, steering)
- U: Network communication
-
Numbers: Provide further details:
- First Digit:
0indicates a generic code;1is manufacturer-specific. - Second Digit: Identifies the specific system within the broader category (e.g., fuel and air, ignition).
- Third and Fourth Digits: Pinpoint the exact fault within the system.
- First Digit:
For instance, P0301 signifies a powertrain code (P), generic (0), related to the ignition system (3), and specifically a misfire in cylinder 1 (01).
Leveraging the Scanner for Savings
An OBD2 scanner can help you save money on car repairs:
- Early Diagnosis: Identify potential problems early, preventing more extensive damage.
- Smog Check Readiness: Determine if your vehicle is likely to pass a smog test.
- DIY Repairs: Diagnose and fix simple issues yourself, avoiding diagnostic fees and potentially labor costs. For example, a P0138 code indicates a faulty oxygen sensor, a relatively easy DIY replacement.
Conclusion
Using a car scanner empowers car owners to take control of their vehicle’s maintenance. By understanding how to connect the scanner, navigate the menu, and interpret the codes, you can gain valuable insights into your car’s health and potentially save money on repairs. Investing in an OBD2 scanner is a worthwhile investment for any car owner looking to be proactive about vehicle maintenance.