
The Haldex system is a crucial component in many all-wheel-drive vehicles, responsible for transferring power between the front and rear axles to maintain traction. Regular maintenance, including a Haldex Fluid Change, is essential for optimal performance and longevity. This guide provides a step-by-step walkthrough of a DIY Haldex fluid change for a MK7, focusing on the fifth-generation Haldex system.
A recent Haldex oil change after 10,000 miles revealed surprisingly dark fluid and some gunk within the pump housing, highlighting the importance of frequent maintenance. While the recommended service interval is 30,000 miles, a more frequent 10,000-mile interval may be necessary, especially for spirited driving styles. This DIY guide outlines the process, ensuring your Haldex system stays in top condition.
Necessary Parts and Tools for a Haldex Fluid Change
Before starting the Haldex fluid change, gather the following parts and tools:
Parts:
- Haldex Fluid (850ml): Volkswagen part number G-060-175-A2. Ensure you purchase the correct fluid specifically designed for Haldex systems.
- Drain Plug: Volkswagen part number N-910-827-01. Replacing the drain plug with a new one is recommended to ensure a proper seal.
- Fill Plug: Volkswagen part number N-902-818-02. A new fill plug is crucial for a leak-free system after the fluid change.
- Pump O-rings and Bolts Kit (Optional): Volkswagen part number 0CQ-598-305. While optional, replacing the o-rings and bolts can help prevent leaks and ensure proper pump function. https://www.vwpartscenter.net/oem-parts/volkswagen-dichtsatz-0cq598305
Tools:
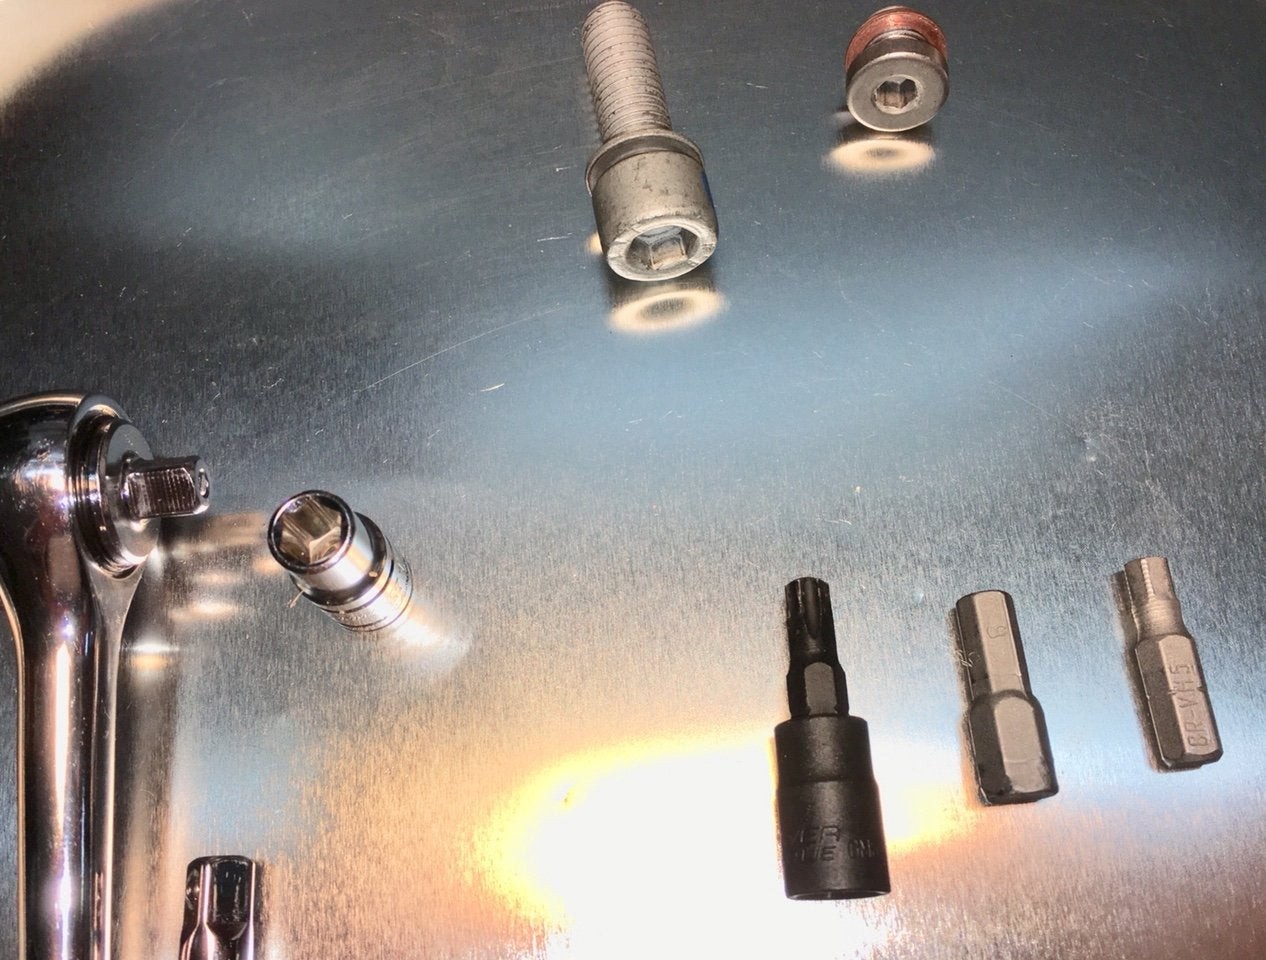
- 8mm Hex Key: For removing the drain plug.
- 5mm Hex Key: For removing the fill plug.
- T30 Torx Bit: For removing the Haldex pump bolts.
- Fluid Pump: A hand pump designed for transferring fluids. This tool makes filling the Haldex system significantly easier. https://www.oreillyauto.com/detail/performance-tool-4601/chemicals—fluids-16461/grease—lube-16582/gear-oil-pump-17698/fluid-pump/w1139/4613599
Haldex Fluid Change Procedure
Preparation:
- Raise and Level the Vehicle: Securely lift the vehicle onto jack stands, ensuring it’s level on all four corners.
Draining the Old Fluid:
- Remove Fill Plug: Using the 5mm hex key, remove the Haldex fill plug. This allows air to enter the system, facilitating draining. Always remove the fill plug before the drain plug.
- Remove Drain Plug: Using the 8mm hex key, remove the drain plug and let the old Haldex fluid drain completely into a suitable container.
Cleaning the Pump:
- Remove and Clean the Pump: Remove the two T30 Torx bolts securing the Haldex pump. Carefully wiggle the pump out of its housing, noting that more fluid will drain. Without disconnecting the electrical connector, set the pump aside. Clean the pump housing and the plastic filter screen on the pump.
- Inspect and Replace O-rings (Optional): If you have the optional o-ring and bolt kit, replace the two o-rings on the pump.
Refilling with New Fluid:
- Reinstall the Pump: Reinstall the Haldex pump, using new bolts if included in the kit. Torque the T30 bolts to the manufacturer’s specification (approximately 15-19 Nm).
- Install New Drain Plug: Install the new drain plug and torque it to 32 Nm.
- Fill with Haldex Fluid: Using the fluid pump, pump approximately 650ml of fresh Haldex fluid through the fill hole.
- Prime the System: Temporarily install the old fill plug. Start the engine and let it run for about a minute to prime the Haldex pump.
- Top Off Fluid: Stop the engine, remove the old fill plug, and continue pumping fluid into the system until it begins to overflow. Approximately 50ml more fluid might be needed.
- Install New Fill Plug: Once the fluid level is stable, install the new fill plug and torque it to 15 Nm.
Final Steps:
- Clean Up: Wipe down any spilled fluid and inspect for leaks.
- Lower the Vehicle: Carefully lower the vehicle from the jack stands.
- Test Drive: Take a short test drive to ensure the Haldex system is functioning correctly.
Important Considerations:
- Fluid Temperature: The Haldex fluid should ideally be between 20°C and 40°C (68°F and 104°F) during the change. If necessary, warm the fluid bottle in warm water before starting.
- Regular Maintenance: Based on the observed condition of the used fluid, consider performing a Haldex fluid change every 10,000 miles for optimal performance.