Welding a Golf Mk2 can seem daunting, especially for beginners. This guide provides a step-by-step approach to common Golf Mk2 welding repairs, focusing on sill replacement. We’ll cover everything from assessing the damage to completing the final welds, offering advice and tips from experienced welders.
Assessing the Damage on Your Golf Mk2
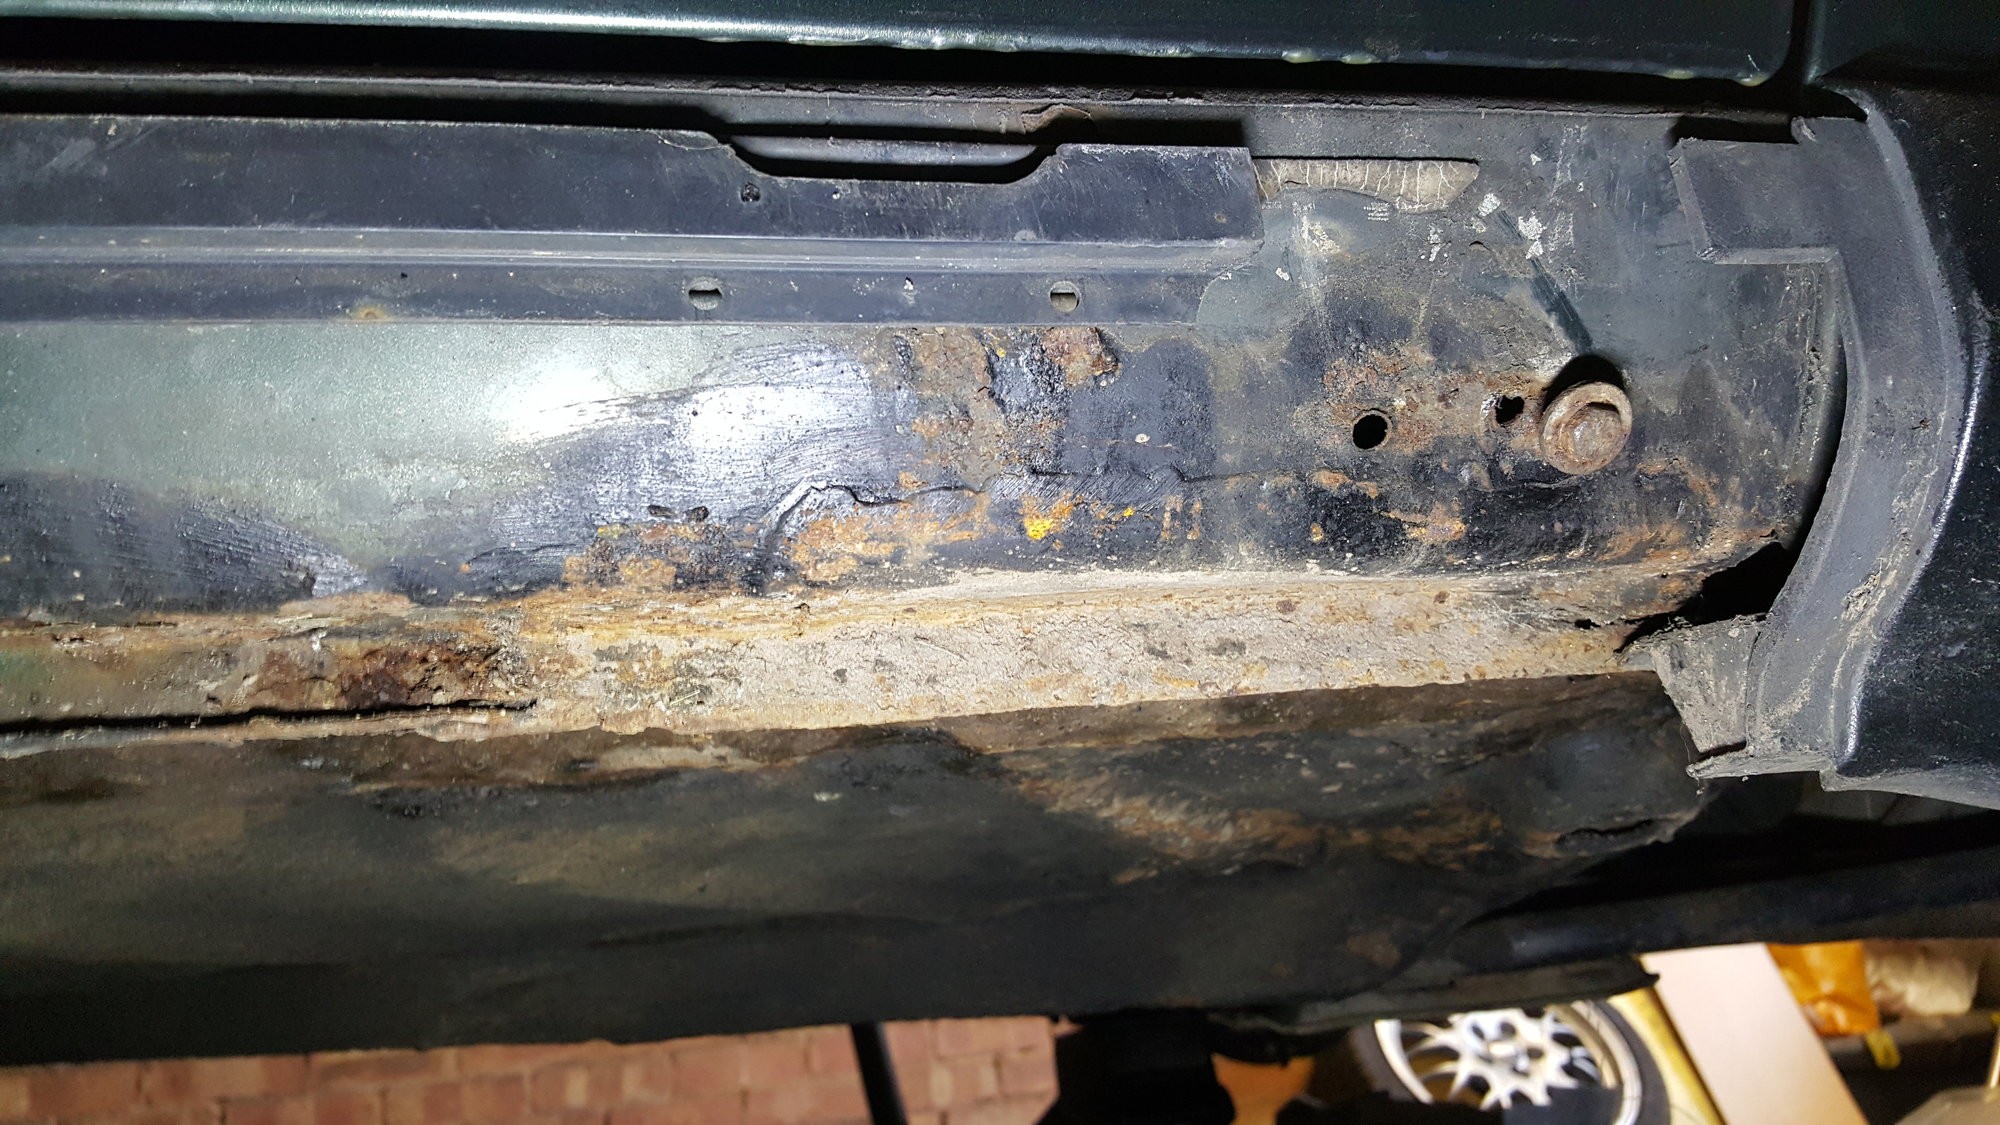
Before starting any welding, thoroughly inspect your Golf Mk2’s sills. Remove the plastic trim and clean away dirt and rust to expose the extent of the damage. This will help you determine what needs replacing and allow you to accurately plan your repair.
Take photos and create cardboard templates of the damaged areas. This will serve as a valuable reference when fabricating replacement panels and ensuring a proper fit. Common problem areas in the Golf Mk2 include the sills, front jacking points, and the area around the fuel filler neck.
Gathering Your Tools and Materials
Having the right tools and materials is crucial for a successful welding project. You’ll need:
- MIG Welder: A Clarke 151EN or similar MIG welder is suitable for this project. Ensure it’s in good working order and has a new gas line, wire liner, and drive roller.
- Gas and Regulator: Source the appropriate gas (typically Argon/CO2 mix) and regulator for your welder. A large gas bottle is recommended for extended welding sessions.
- Replacement Panels: Purchase a new sill panel for your Golf Mk2. These are readily available from online retailers and auto parts stores.
- Grinder with Flap Discs: Used for removing rust and preparing the metal for welding.
- Wire Brush: For cleaning welds and removing spatter.
- Safety Equipment: Welding helmet, gloves, and protective clothing are essential.
- Measuring Tools: Tape measure, ruler, and marking tools for accurate measurements.
- Vice: Helpful for shaping and holding metal pieces.
- Hammer and Dolly: For shaping and smoothing metal.
Preparing for Welding
Clean the area to be welded thoroughly using a grinder with flap discs. Remove all rust and paint, exposing bare metal for a clean welding surface. This ensures a strong and lasting weld.
Protect surrounding areas, especially glass, from sparks and splatter. Covering them with a protective material is highly recommended.
Welding the New Sill
With the area prepped, carefully align the new sill panel and secure it with clamps. Begin welding by making tack welds along the seam to hold the panel in place.
Once tacked, complete the weld using continuous beads, overlapping each pass slightly. Practice on scrap metal of similar thickness before welding on the car to ensure proper settings and technique.
Finishing Touches
After welding, grind down the welds to create a smooth, flush surface. Apply a rust inhibitor and primer to protect the newly welded area. Finally, paint the repaired section to match the rest of the car.
Conclusion
Welding repairs on a Golf Mk2, specifically sill replacement, are achievable for beginners with careful planning and execution. This guide provides a foundation for tackling this common repair. Remember to practice your welding technique, take your time, and prioritize safety throughout the process. With patience and persistence, you can successfully restore your Golf Mk2 to its former glory.