Replacing the rear brake pads on your 2019 Volkswagen Tiguan can seem daunting, but with the right tools and guidance, it’s a manageable DIY project. This comprehensive guide provides a step-by-step walkthrough, ensuring a successful brake pad replacement.
Crucially, you’ll need VCDS (Vag-Com Diagnostic System) or a similar diagnostic tool to retract and reset the electronic parking brake for this procedure. Limited space, especially in 4Motion models, can make this job challenging. Maximize your working height, especially if you’re also replacing the rotors. The M14 Torx bolts for the caliper carrier are often seized and require significant torque to remove.
Tools and Materials:
- Sockets and extension bars or a breaker bar
- Brake lubricant and copper grease
- M14 socket (for caliper carrier bolts)
- 13mm and 15mm wrenches (for slide pins)
- T30 Torx bit (for brake rotor screw)
- Axle stands
- Brake caliper piston compression tool
- Torque wrench (recommended)
- Battery charger
- New brake pads
- New anti-rattle clips (if included with pads)
Procedure:
- Prepare the Vehicle: Securely lift the vehicle using axle stands, chock the front wheels, and engage the parking brake. Connect a battery charger to maintain voltage and prevent issues with the sensitive parking brake module.
-
Retract Parking Brake with VCDS: Access module 53 (Parking Brake) in VCDS. Run Output Tests (4) and enter group 007. This initiates the parking brake retraction. Wait 30 seconds, exit, close the controller, and turn off the ignition.
-
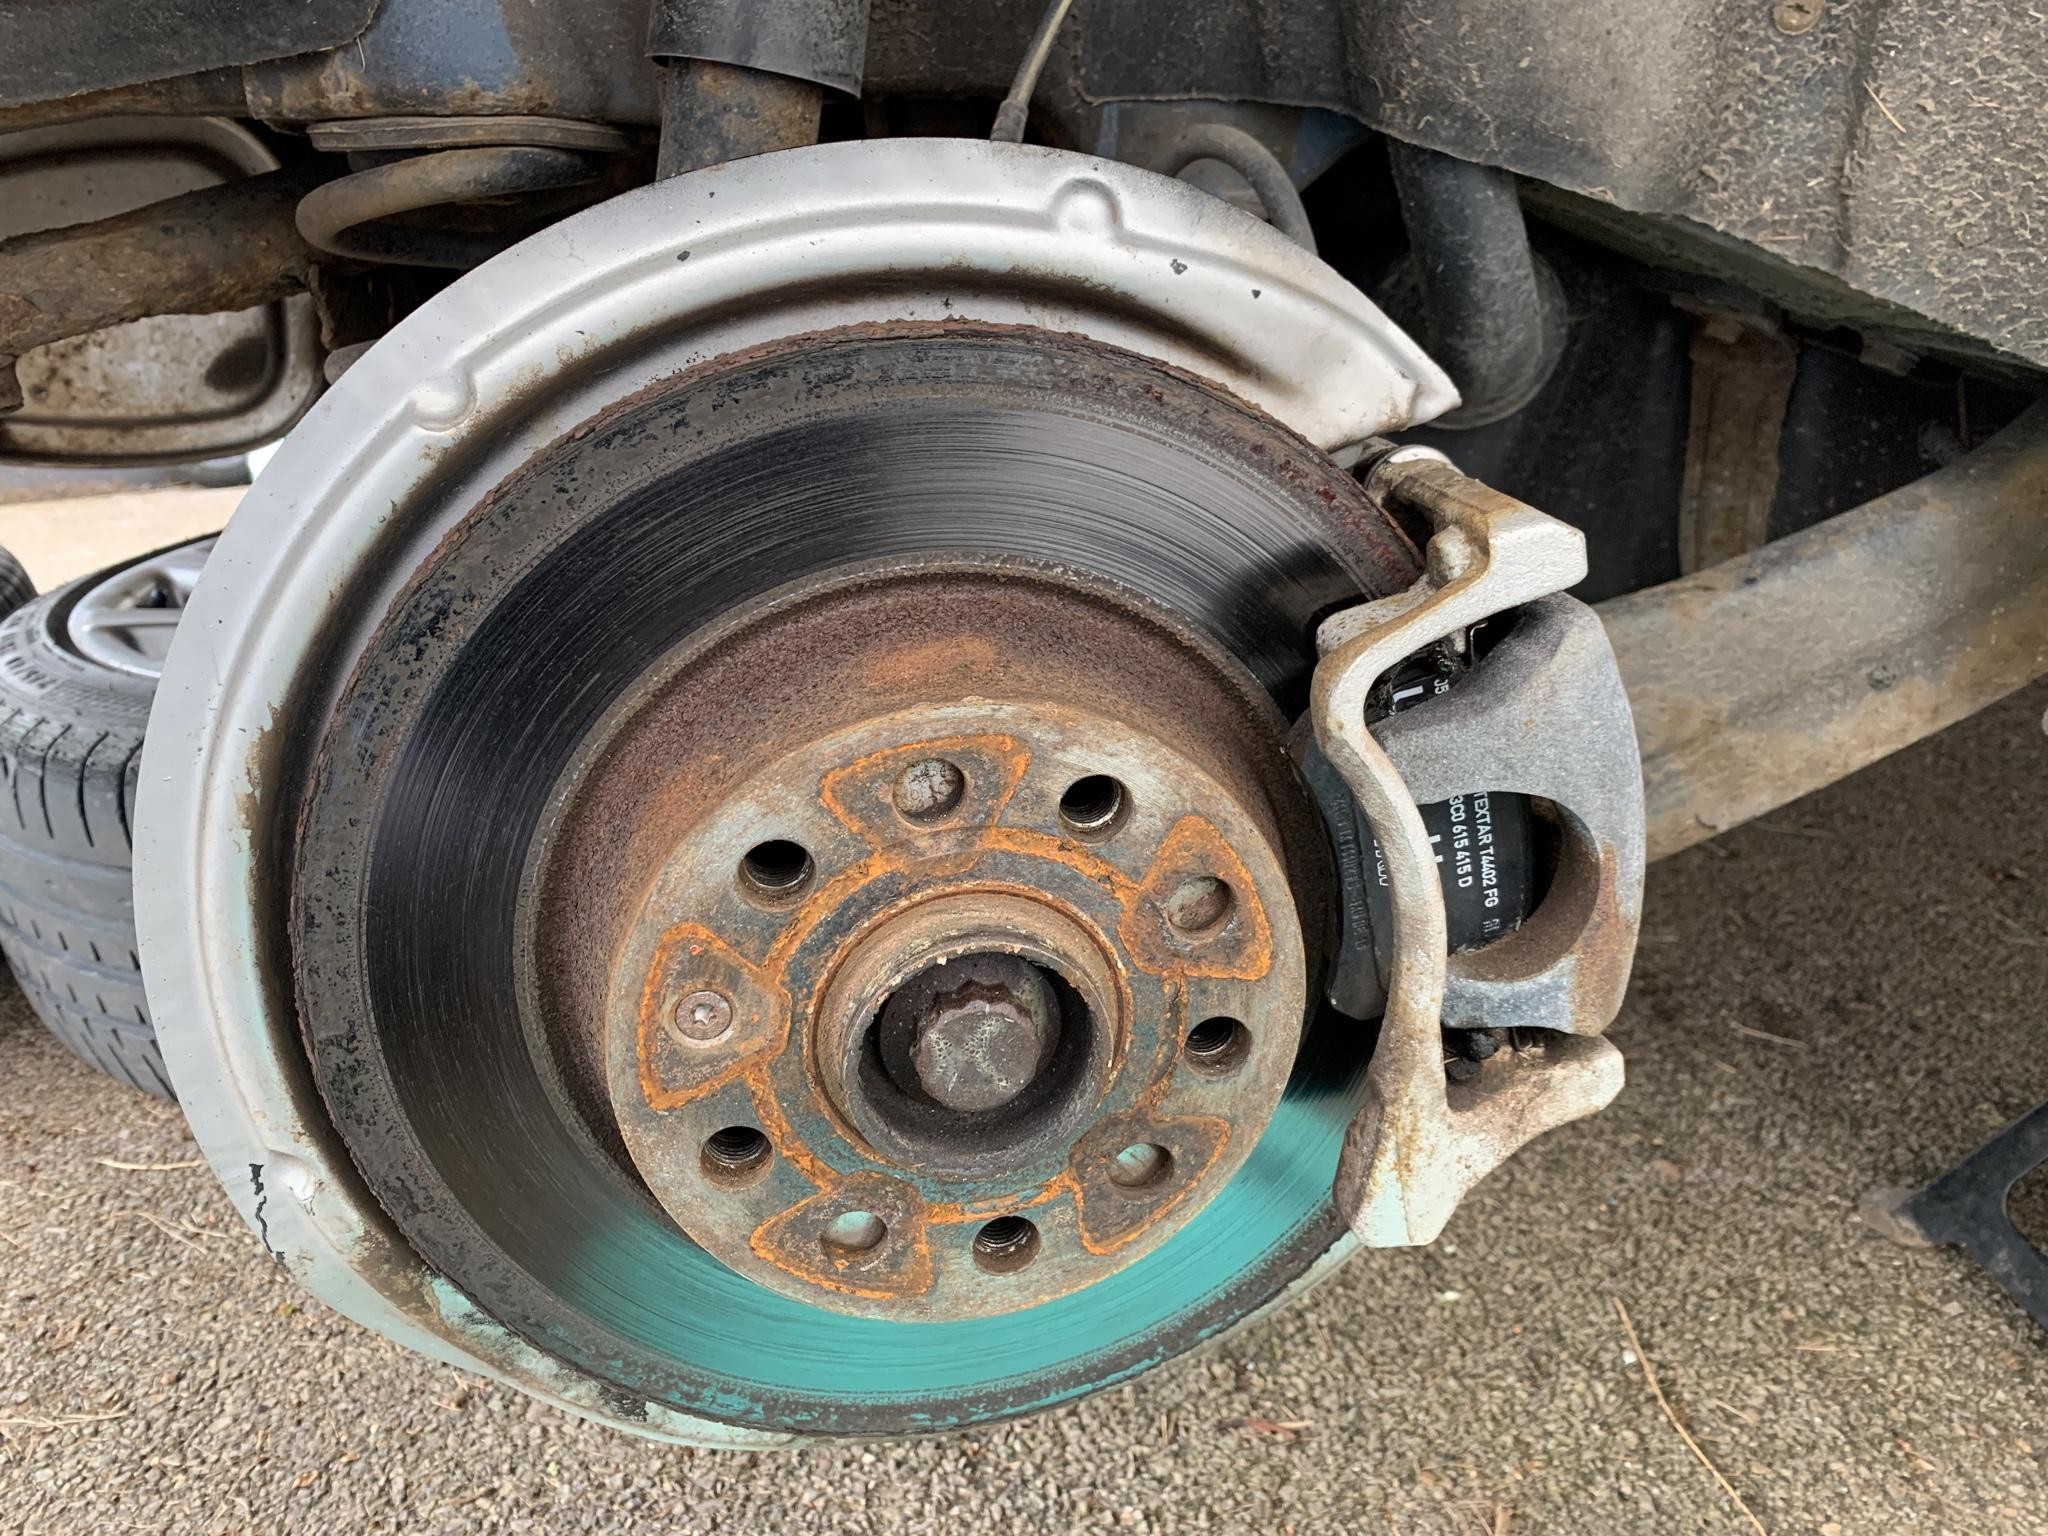
Remove Caliper and Carrier: Remove the slide pins securing the caliper using the 13mm and 15mm wrenches.
Disconnect the electronic parking brake connector and carefully tie the caliper aside. Use the M14 socket and breaker bar to remove the caliper carrier bolts. Penetrating oil may be necessary to loosen seized bolts.
- Remove Rotor: Use the T30 Torx bit to remove the rotor retaining screw. The rotor may require a light tap with a hammer to break it free.
- Install New Rotor (if applicable): Apply copper grease to the hub surface and install the new rotor.
- Compress Caliper Piston: Using a caliper piston compression tool, compress the piston fully into the caliper bore. This is necessary since the parking brake was retracted earlier.
- Install New Pads: Install new anti-rattle clips (if applicable) with a small amount of grease. Apply brake grease to the back of the new pads and install them into the caliper. Avoid getting grease on the rotor friction surface.
-
Reassemble: Reinstall the caliper carrier, ensuring the bolts are torqued to specification. Clean and lubricate the slide pins with brake grease, ensuring they move freely. Reattach the caliper and secure the slide pins.
-
Reset Parking Brake with VCDS: Reconnect the electronic parking brake connector. Pump the brake pedal several times to bring the pads into contact with the rotor. In VCDS, go to module 53 (Parking Brake), Output Tests (4), and enter group 006. This resets the parking brake.
- Verify Operation: Test the parking brake operation to ensure it engages and releases correctly.
This guide provides general instructions. Always consult your vehicle’s repair manual for specific torque specifications and procedures.