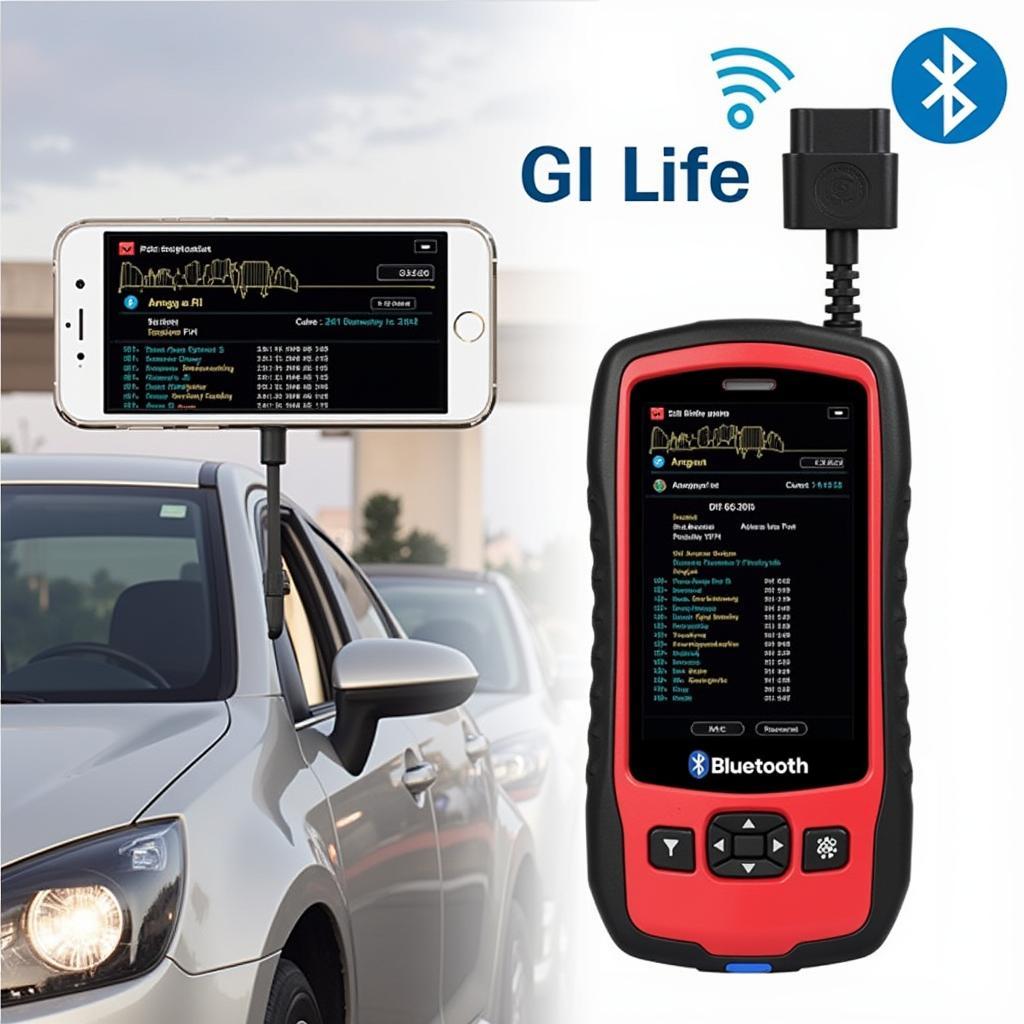
Autoenginuity Scan Tool 9.1 is a powerful diagnostic tool for automotive professionals and enthusiasts alike. This guide will delve into its capabilities, benefits, and practical applications, providing you with the knowledge to maximize its potential for accurate and efficient vehicle diagnostics. We’ll explore everything from its basic functions to advanced features, helping you understand how to get the most out of this valuable tool.
Unveiling the Power of AutoEnginuity Scan Tool 9.1
AutoEnginuity 9.1 offers comprehensive diagnostic capabilities, supporting a wide range of vehicle makes and models. Its user-friendly interface, combined with advanced features, empowers users to quickly identify and resolve complex automotive issues. Whether you’re a seasoned technician or a car enthusiast, this tool can be a game-changer in your diagnostic arsenal.
Why Choose AutoEnginuity 9.1?
What makes AutoEnginuity 9.1 stand out from other scan tools? Its extensive vehicle coverage, in-depth diagnostics, and user-friendly interface are just a few of the reasons why it’s a top choice among automotive professionals. It’s a versatile tool that can handle everything from basic code reading to advanced bi-directional controls, providing a complete solution for your diagnostic needs.
Key Features of AutoEnginuity Scan Tool 9.1
AutoEnginuity 9.1 boasts a wide array of features designed to enhance your diagnostic experience. These include:
- Extensive Vehicle Coverage: Supports a broad range of domestic and import vehicles.
- In-depth Diagnostics: Access to manufacturer-specific data and advanced diagnostics.
- Bi-directional Controls: Allows you to activate components for testing purposes.
- Data Logging and Playback: Record and analyze data streams to pinpoint issues.
- User-Friendly Interface: Easy to navigate and understand, even for beginners.
How to Use AutoEnginuity Scan Tool 9.1 for Effective Diagnostics
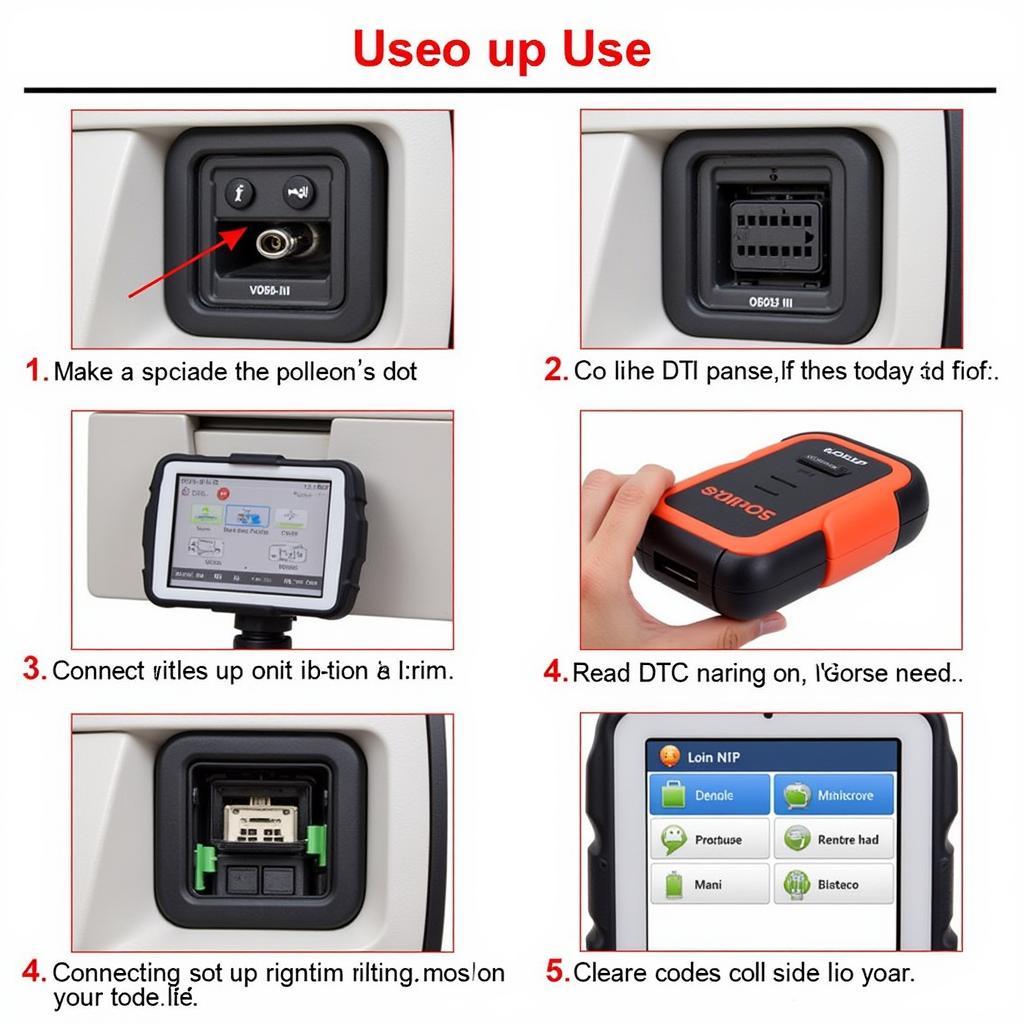
Using AutoEnginuity 9.1 effectively requires a systematic approach. Here’s a step-by-step guide:
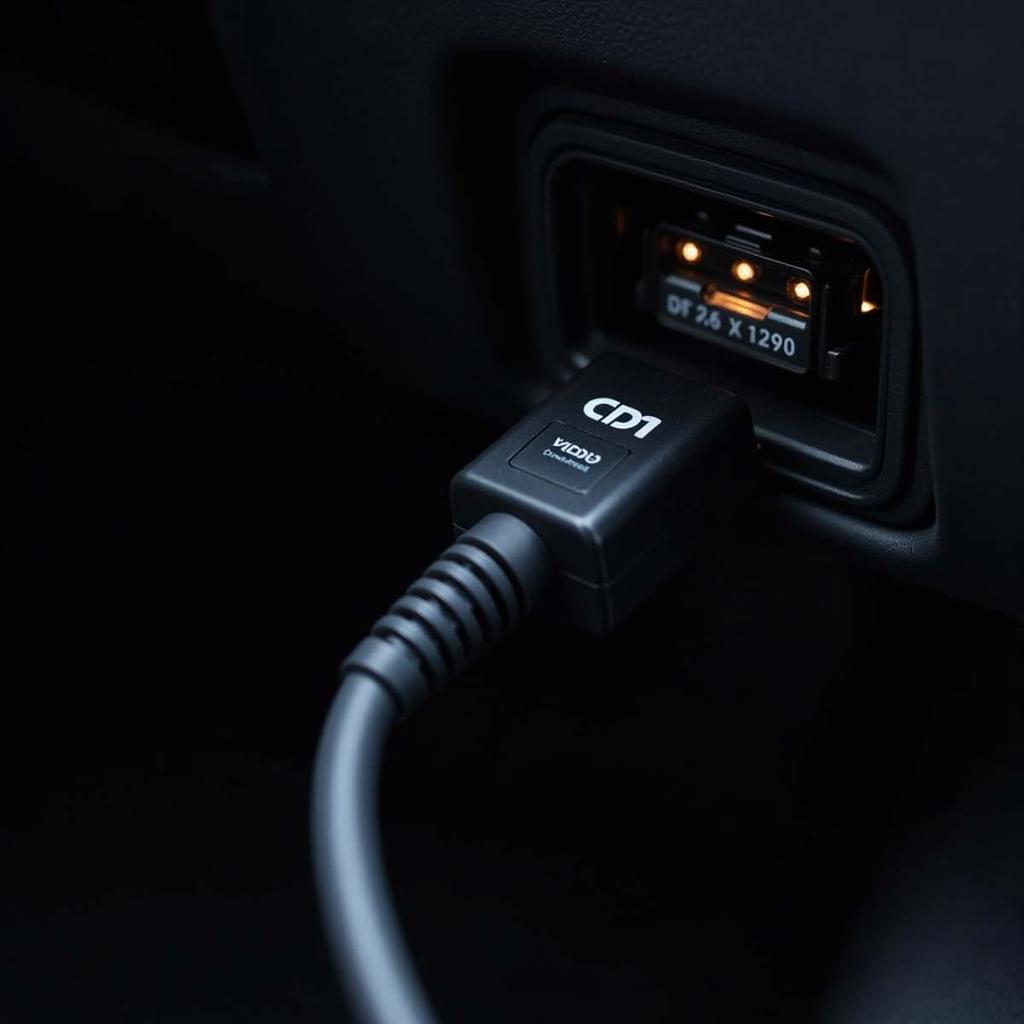
- Connect the Interface: Connect the AutoEnginuity interface to the vehicle’s OBD-II port and your computer.
- Launch the Software: Open the AutoEnginuity software on your computer.
- Select Vehicle Information: Choose the correct year, make, and model of the vehicle.
- Read Codes: Initiate a scan to retrieve diagnostic trouble codes (DTCs).
- Analyze Data: Examine live data streams to pinpoint the root cause of the issue.
- Perform Bi-directional Controls (if necessary): Activate components to test their functionality.
- Clear Codes: Once the issue is resolved, clear the DTCs.
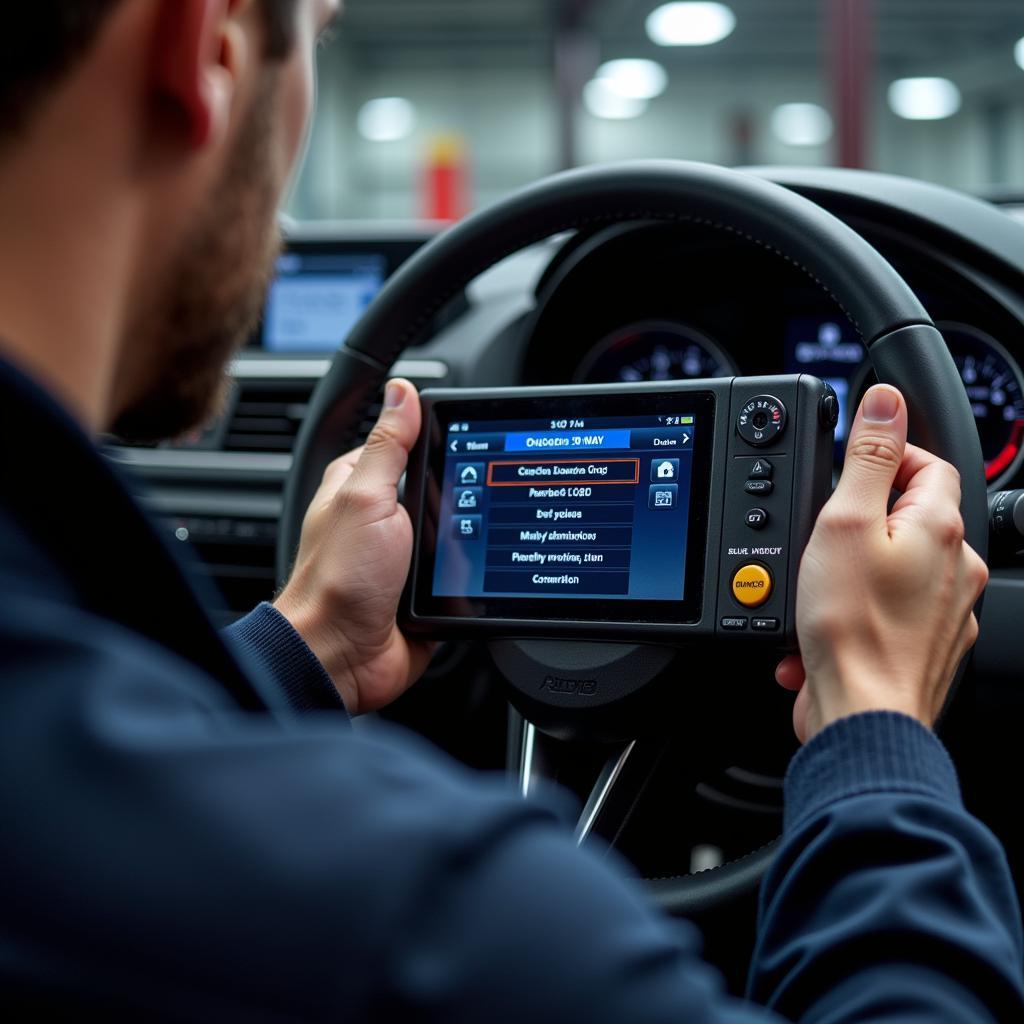
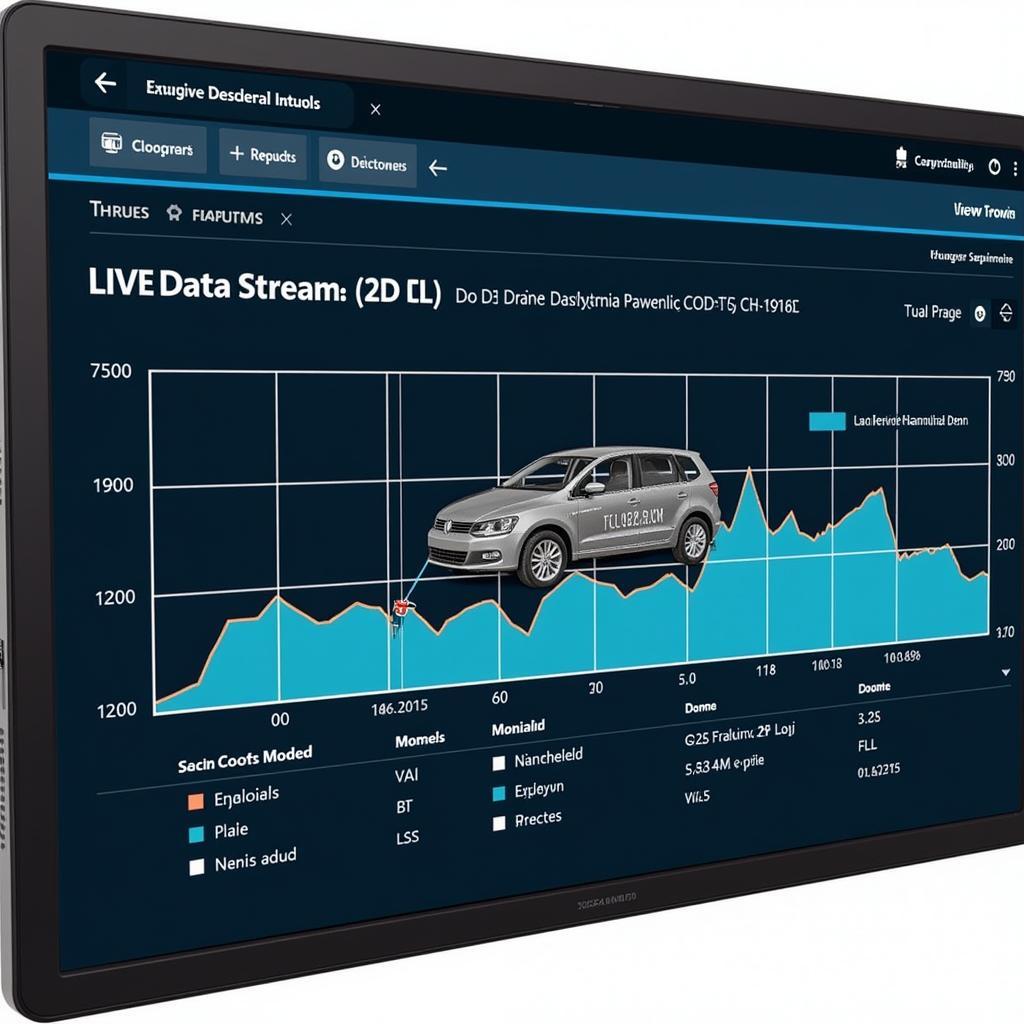 AutoEnginuity 9.1 Performing Diagnostics
Troubleshooting Common Issues with AutoEnginuity 9.1
Occasionally, you might encounter some issues while using the tool. Here are a few common problems and their solutions:
- Connection Problems: Ensure the interface is properly connected and drivers are installed.
- Software Errors: Update the software to the latest version.
- Vehicle Compatibility Issues: Verify that the software supports the specific vehicle make and model.
“Regular software updates are crucial for maintaining optimal performance and compatibility with the latest vehicle models,” advises John Smith, a senior automotive diagnostician at Smith Automotive Solutions.
Tips and Tricks for Maximizing AutoEnginuity 9.1
Here are a few expert tips to help you get the most out of your AutoEnginuity 9.1 scan tool:
- Utilize Advanced Features: Explore the advanced features like data logging and bi-directional controls.
- Stay Updated: Regularly update the software to access the latest features and vehicle coverage.
- Seek Support: Don’t hesitate to contact CARW Workshop for technical assistance.
 AutoEnginuity 9.1 Software Update
Conclusion: Empowering Your Automotive Diagnostics with AutoEnginuity Scan Tool 9.1
AutoEnginuity scan tool 9.1 is a powerful and versatile diagnostic tool that can significantly enhance your ability to diagnose and repair automotive issues. By mastering its features and following the guidelines outlined in this guide, you can elevate your diagnostic skills and ensure efficient and accurate vehicle repairs. For additional support or questions, connect with CARW Workshop at +1 (641) 206-8880 or visit our office at 4 Villa Wy, Shoshoni, Wyoming, United States.
“Understanding the full potential of AutoEnginuity 9.1 can transform your diagnostic workflow,” says Maria Garcia, Lead Technician at Garcia Auto Repair. “It’s an investment that pays off in time saved and accurate diagnoses.”
FAQ
- What are the system requirements for AutoEnginuity 9.1?
- How do I update the AutoEnginuity 9.1 software?
- Does AutoEnginuity 9.1 support diesel vehicles?
- Can I use AutoEnginuity 9.1 on multiple vehicles?
- What is the warranty for the AutoEnginuity 9.1 scan tool?
- How can I get technical support for AutoEnginuity 9.1?
- What is the difference between AutoEnginuity 9.1 and other scan tools?
