Bleeding your Hyundai Genesis brakes with a scan tool is a more efficient and effective method compared to traditional methods. It ensures proper brake function and safety by removing air from the brake lines. This guide will provide a comprehensive step-by-step process, addressing common questions and providing expert insights for both DIYers and professionals.
Understanding the Importance of Brake Bleeding
Brake fluid is vital for transmitting force from the brake pedal to the brake calipers, activating the pads and stopping the car. Over time, air can enter the brake lines, leading to a spongy or soft brake pedal feel and reduced braking performance. This can significantly impact your safety, making proper brake bleeding crucial. Using a scan tool offers a more precise and controlled approach to this essential maintenance procedure.
What You’ll Need for Bleeding Hyundai Genesis Brakes
Before starting, gather the necessary tools and materials:
- A compatible scan tool (capable of activating the ABS module)
- Hyundai Genesis specific brake fluid (check your owner’s manual)
- Clear tubing that fits snugly over the bleeder valve
- A wrench that fits the bleeder valve
- A container to collect the old brake fluid
- Gloves and safety glasses
- A helper to operate the brake pedal (optional if your scan tool can cycle the ABS pump)
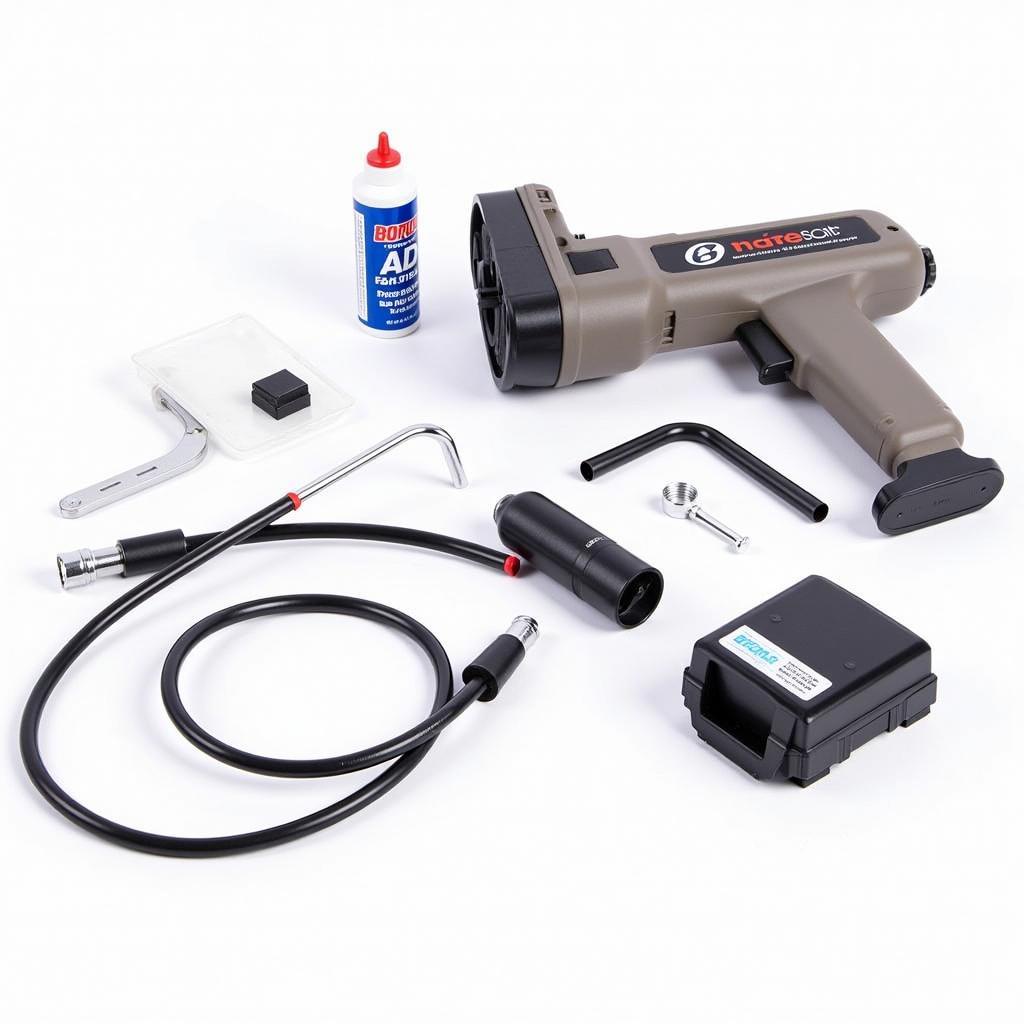 Hyundai Genesis Brake Bleeding Tools
Step-by-Step Guide: How to Bleed Hyundai Genesis Brakes with Scan Tool
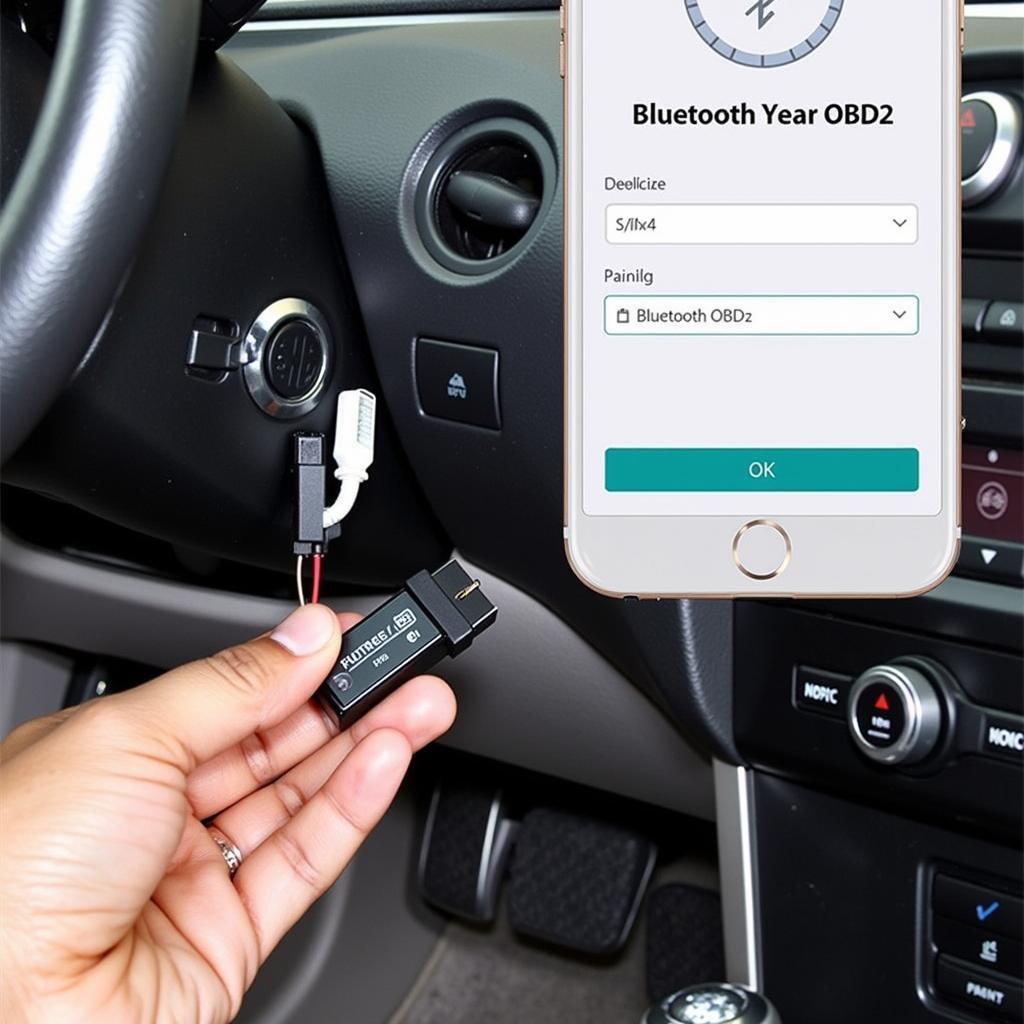
- Connect the scan tool: Plug the scan tool into the OBD-II port of your Hyundai Genesis and turn the ignition to the “ON” position (without starting the engine).
- Access the ABS module: Navigate through the scan tool’s menu to access the ABS module. The specific steps might vary depending on your scan tool model. Refer to your scan tool’s user manual for detailed instructions.
- Select the brake bleeding function: Locate and select the “brake bleed” or “ABS service bleed” function within the ABS module.
- Prepare the brake bleeder: Locate the bleeder screw on the brake caliper furthest from the master cylinder (typically the passenger rear wheel). Attach the clear tubing to the bleeder screw and submerge the other end in the container with brake fluid.
- Initiate the bleeding process: Follow the prompts on the scan tool to activate the ABS pump and open the bleeder valve. The scan tool will typically cycle the pump to push air and old fluid through the lines.
- Monitor the fluid: Observe the brake fluid flowing through the clear tubing. Look for air bubbles and continue the process until the fluid runs clear and bubble-free.
- Close the bleeder valve: Once the fluid is clear, close the bleeder valve as instructed by the scan tool.
- Repeat the process: Repeat steps 4-7 for the remaining brake calipers in the following order: driver rear, passenger front, and driver front. This order ensures efficient air removal from the entire system.
- Top off the brake fluid: After bleeding all four calipers, check the brake fluid reservoir and top it off with fresh Hyundai Genesis specific brake fluid to the appropriate level.
- Test the brakes: Start the engine and test the brake pedal feel. It should feel firm and responsive. If the pedal still feels spongy, repeat the bleeding process.
Common Mistakes to Avoid
- Using the incorrect type of brake fluid can damage the brake system.
- Not following the correct bleeding sequence can lead to incomplete air removal.
- Over-tightening the bleeder screw can damage the caliper.
- Allowing the brake fluid reservoir to run dry can introduce more air into the system.
Expert Insights
“Using a scan tool for brake bleeding offers greater precision and control, particularly with modern ABS systems,” says automotive expert, Michael Stevens. “It minimizes the risk of introducing more air into the system and ensures a more complete bleed.”
Another industry professional, Sarah Chen, adds, “While scan tool bleeding is highly effective, it’s always a good idea to double-check the brake pedal feel after the procedure and test the brakes in a safe environment.”
Conclusion
Bleeding your Hyundai Genesis brakes with a scan tool is a more effective method than traditional methods. It ensures a complete bleed and optimal brake performance. By following this comprehensive guide, you can ensure the safety and reliability of your vehicle’s braking system. For further assistance or any questions, feel free to connect with CARW Workshop at +1 (641) 206-8880 or visit our office at 4 Villa Wy, Shoshoni, Wyoming, United States.
FAQ
- Why is my brake pedal spongy? A spongy brake pedal usually indicates air in the brake lines.
- Can I bleed my brakes without a scan tool? Yes, but using a scan tool is recommended, especially for vehicles with ABS.
- How often should I bleed my brakes? It’s generally recommended to bleed your brakes every 2 years or 24,000 miles.
- What type of brake fluid should I use for my Hyundai Genesis? Consult your owner’s manual for the specific brake fluid type recommended for your model.
- Is it safe to drive with a spongy brake pedal? No, a spongy brake pedal indicates a problem that should be addressed immediately.
- What if my brake pedal is still spongy after bleeding? There might be a leak in the brake system, or a more serious issue requiring professional attention.
- Can I damage my brakes by bleeding them incorrectly? Yes, improper bleeding can introduce more air or damage the brake components.


