If you’re experiencing computer problems like crashes, freezes, or blue screens of death, your RAM could be the culprit. Thankfully, Windows Vista comes equipped with a built-in tool to help you diagnose memory issues: the Windows Memory Diagnostic Tool. This article will guide you on how to download, run, and interpret the results of this handy tool.
While many newer Windows users might be looking for a downloadable version of the tool, the truth is you won’t find an official download link. That’s because the Windows Memory Diagnostic Tool is already included in Windows Vista! Let’s dive into how to access it.
Accessing the Windows Vista Memory Diagnostic Tool
You don’t need to scour the internet for a “Windows Vista Memory Diagnostic Tool Download” link. Follow these simple steps:
- Open the Start Menu: Click on the Windows orb in the bottom left corner of your screen.
- Access the Search Bar: In the “Start Search” box, type “Memory”
- Locate the Tool: You should see “Windows Memory Diagnostic Tool” appear in the list of programs. Click on it to open.
- Restart Your Computer: The tool needs to run outside of the Windows environment to effectively test your RAM. You’ll be prompted to choose between restarting now and running the test the next time you boot up.
Running the Windows Memory Diagnostic Tool
Once your computer restarts, the Windows Memory Diagnostic Tool will launch automatically. You’ll see a blue screen displaying the test progress.
- Standard Test: By default, the tool runs a standard test, which is usually sufficient for detecting most memory problems.
- Advanced Options: If you need more control, you can press the “F1” key to access advanced options. Here you can choose different test types (Basic, Standard, or Extended), set the cache, and adjust the number of passes the tool makes through your RAM.
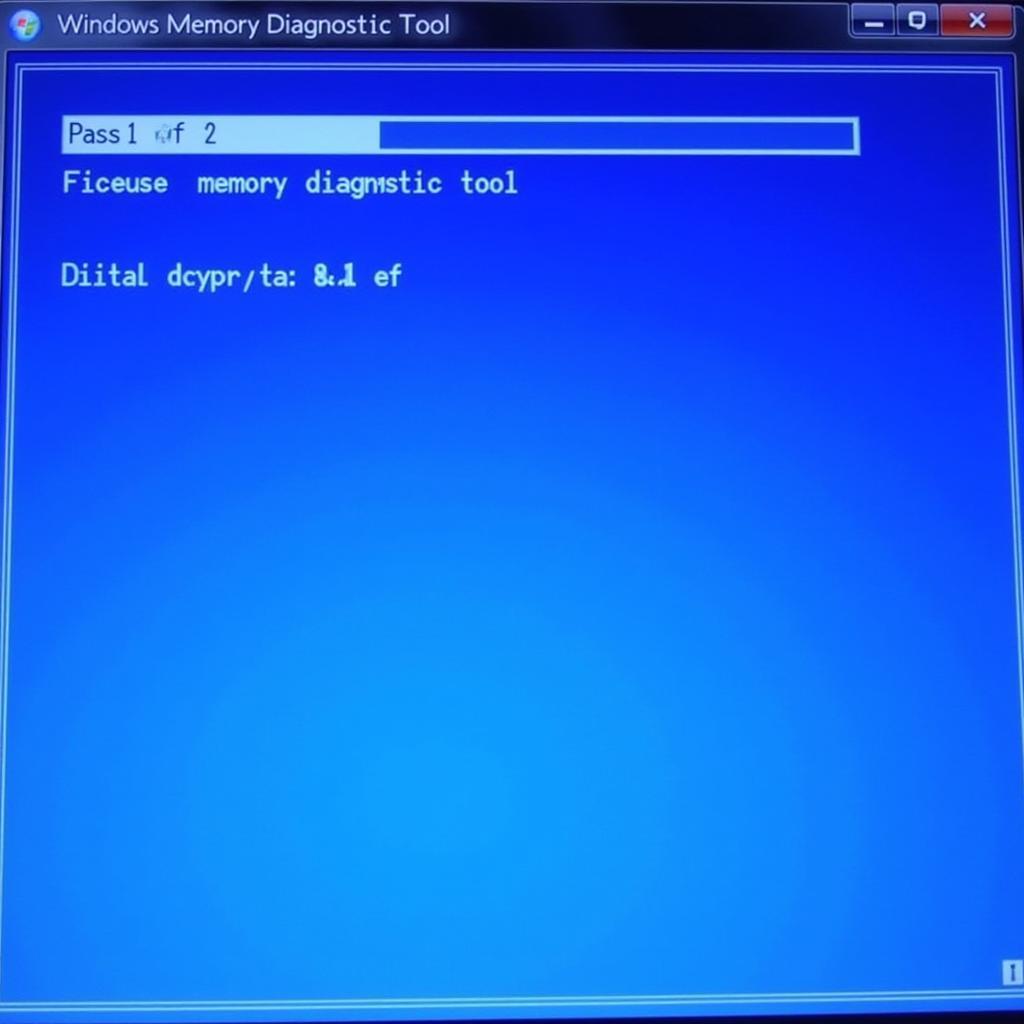 Windows Vista Memory Diagnostic Tool in action
Understanding the Results
After the test completes, your computer will restart again, and you should see the results displayed in a pop-up notification. However, sometimes the results don’t appear automatically. In that case, follow these steps:
- Open Event Viewer: Go to the Start Menu, type “Event Viewer” in the search bar, and click on it.
- Navigate to Windows Logs: In the left-hand pane, expand “Windows Logs” and then click on “System”.
- Find Memory Diagnostics Results: In the right-hand pane, look for an event source named “MemoryDiagnostics-Results.” Double-click on this event to view the detailed findings of the test.
If the test detects errors, it’s a strong indication that you have a problem with your RAM.
What to Do If Errors Are Found
If the Windows Memory Diagnostic Tool uncovers errors, here’s what you can do:
- Check RAM Seating: Before replacing any hardware, ensure your RAM sticks are properly seated in their slots. Power down your computer, open the case, and gently re-seat each RAM stick.
- Test RAM Modules Individually: If you have multiple RAM modules installed, test them one at a time. This helps isolate whether a specific module is causing the problem.
- Consider Replacement: If the tool consistently finds errors, you’ll likely need to replace the faulty RAM module(s).
“When RAM starts acting up, it can cause a world of headaches,” says John Smith, Senior IT Technician at Tech Solutions Inc. “The good news is, the Windows Memory Diagnostic Tool can often pinpoint the issue, making troubleshooting much easier.”
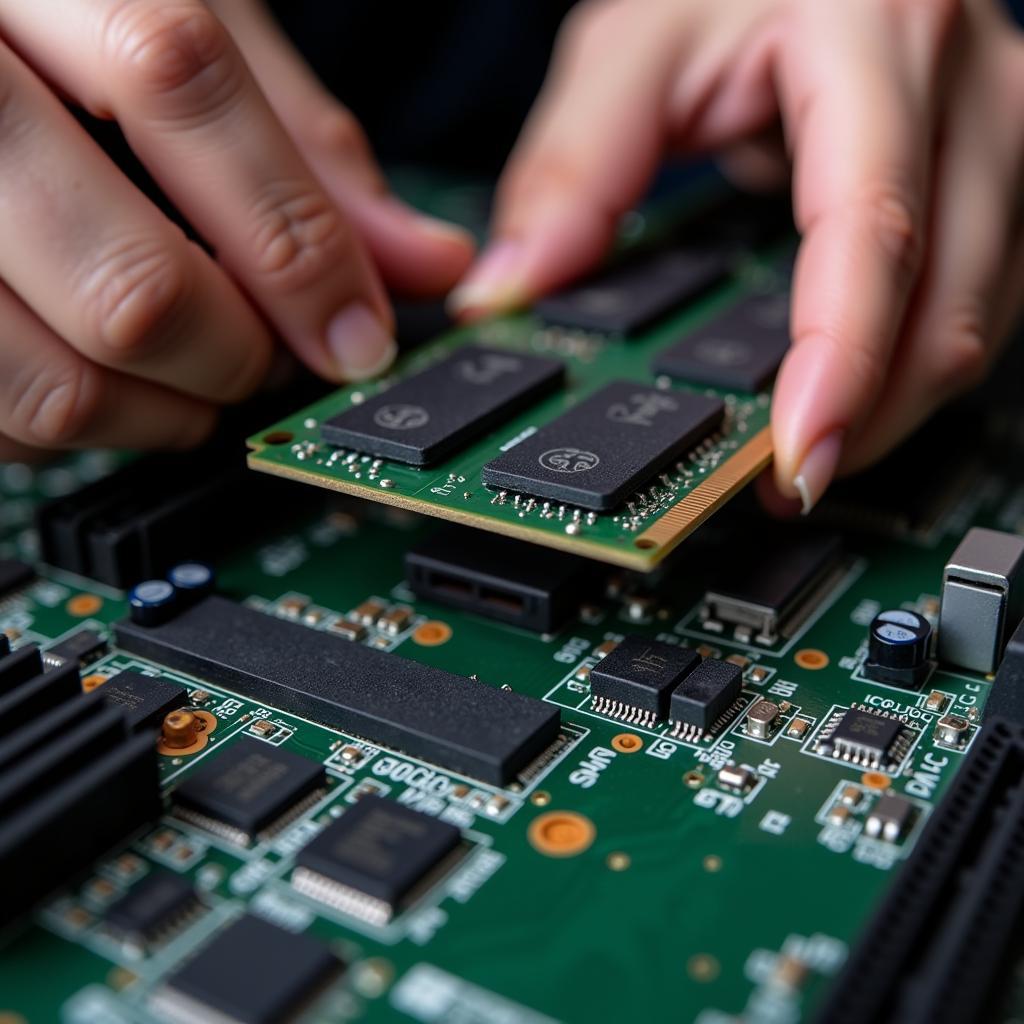 Replacing a RAM module
Tips for Preventing Memory Problems
While some RAM issues are unavoidable, there are steps you can take to minimize the risk:
- Ensure Adequate Cooling: Overheating can damage RAM. Make sure your computer has proper ventilation and consider adding more fans if needed.
- Use a Surge Protector: Power surges can also harm your RAM. A good quality surge protector will help safeguard your components.
- Keep Your System Clean: Dust buildup can cause overheating. Regularly clean your computer’s interior, especially around the RAM slots.
By taking these preventive measures and using the Windows Vista Memory Diagnostic Tool, you can help keep your computer running smoothly.
FAQs about the Windows Vista Memory Diagnostic Tool
1. Is the Windows Vista Memory Diagnostic Tool reliable?
Yes, it’s a built-in tool specifically designed by Microsoft to test RAM, making it quite reliable for diagnosing memory-related issues.
2. Can I use the tool on other versions of Windows?
While it’s called the “Windows Vista” Memory Diagnostic Tool, it’s also compatible with other Windows versions, including Windows 7, 8, and 10.
3. What if the tool doesn’t find any errors but I still suspect RAM problems?
The tool isn’t foolproof. If you still experience problems that point to RAM, consider running more comprehensive memory testing software or seeking professional help.
4. Will running the tool void my computer’s warranty?
No, running the Windows Memory Diagnostic Tool is a safe and recommended troubleshooting step that won’t affect your warranty.
5. How often should I run the memory diagnostic tool?
It’s a good practice to run the tool if you’re experiencing system instability, after installing new RAM, or as part of regular system maintenance.
Remember, a properly functioning memory is crucial for a smooth computing experience. If you need further assistance with your computer or have questions about diagnostic tools like the Intel Processor Diagnostic Tool, which can help analyze CPU performance, feel free to reach out to the experts at CARW Workshop. You can call us at +1 (641) 206-8880 or visit our office at 4 Villa Wy, Shoshoni, Wyoming, United States.



One Response