The Lenovo Hdd Diagnostic Tool is a powerful utility designed to help users identify and troubleshoot problems with their Lenovo laptop hard drives. Whether you’re a casual user or a seasoned technician, this guide provides a detailed overview of the Lenovo HDD diagnostic tool, its features, and how to use it effectively.
Understanding the Need for HDD Diagnostics
Hard disk drives (HDDs) are essential components of your Lenovo laptop, responsible for storing your operating system, applications, and personal files. Over time, HDDs can experience wear and tear, leading to performance issues or even data loss. Regular diagnostics help detect potential problems early on, allowing for timely intervention and potentially preventing catastrophic data loss.
Lenovo’s Solution: The HDD Diagnostic Tool
Lenovo understands the importance of reliable storage, offering a dedicated HDD diagnostic tool. This tool provides a suite of tests to assess the health and performance of your hard drive, identifying issues such as:
- Bad sectors: These are portions of the hard drive that can no longer store data reliably.
- Slow read/write speeds: This can indicate a failing hard drive or other underlying issues.
- SMART (Self-Monitoring, Analysis and Reporting Technology) errors: SMART monitors your hard drive for various parameters, and errors can indicate impending failure.
Accessing Lenovo’s HDD Diagnostic Tool
Accessing the diagnostic tool varies depending on your Lenovo laptop model. Here are the two most common methods:
- Lenovo Vantage: Many newer Lenovo laptops come with Lenovo Vantage pre-installed. This application provides easy access to system information, updates, and diagnostic tools, including the HDD diagnostic.
- BIOS/UEFI: On older models or those without Lenovo Vantage, you can access the HDD diagnostic tool through the BIOS or UEFI settings. To access BIOS/UEFI, restart your computer and repeatedly press the designated key (usually F2, F10, or Del) during startup.
Running the Lenovo HDD Diagnostic Tool
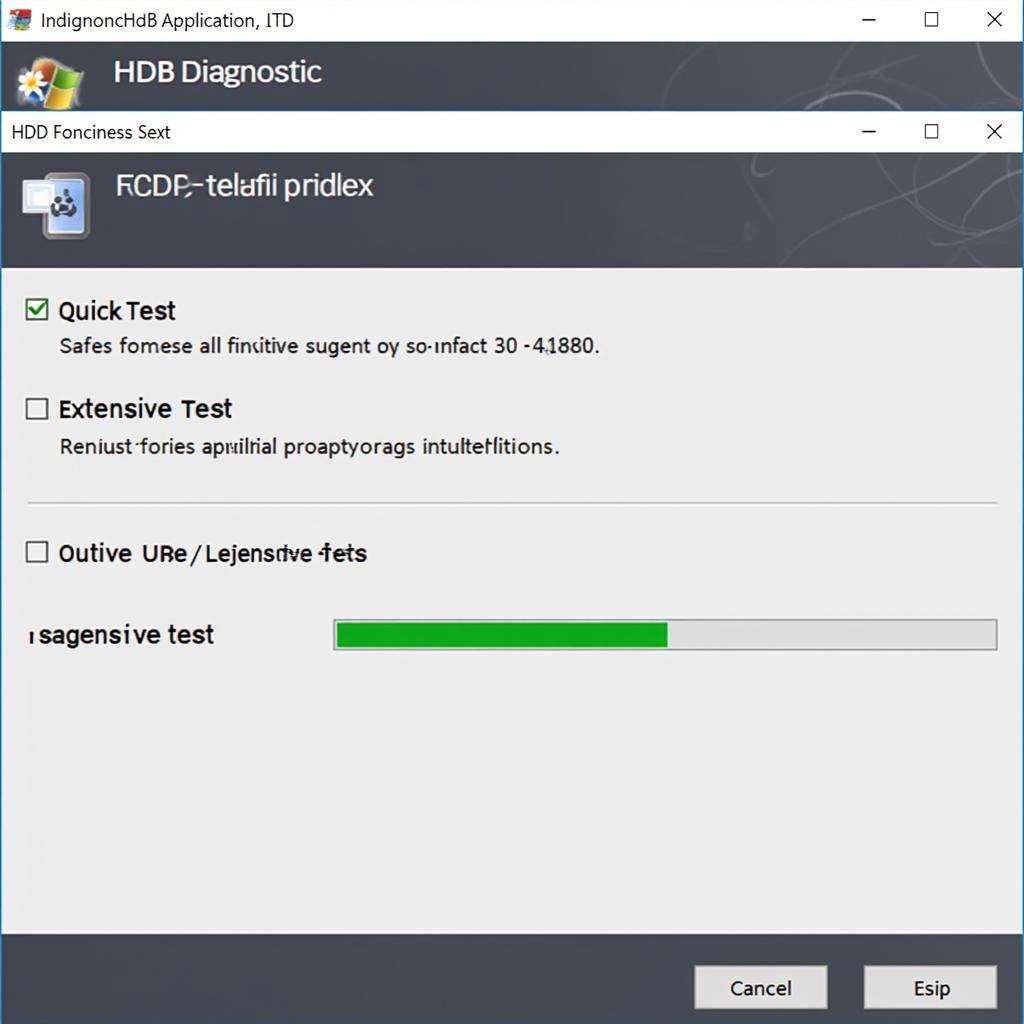
Once you’ve accessed the tool, you’ll be presented with various diagnostic options. Common tests include:
- Quick Test: This test performs a basic scan of your hard drive for errors and typically completes within minutes.
- Extensive Test: The extensive test is more thorough, scanning the entire hard drive surface for errors. Expect this test to take longer, potentially several hours.
 Lenovo HDD Diagnostic Tool Screenshot
Interpreting the Results
After the test completes, you’ll receive a report indicating the health of your hard drive.
- Pass: A passing result means the tool didn’t detect any errors.
- Fail: A failing result indicates potential problems with your hard drive. Lenovo recommends backing up your data immediately and seeking professional assistance.
Beyond Diagnostics: What’s Next?
The Lenovo HDD diagnostic tool is an excellent first step in troubleshooting hard drive problems. However, it’s essential to remember that this tool provides a general assessment.
For advanced diagnostics and solutions: If you suspect serious hard drive issues or the diagnostic tool returns a failing result, it’s crucial to consult with experienced professionals.
“I always emphasize the importance of professional diagnostics,” says John Miller, Senior Technician at CARW Workshop. “While the Lenovo tool is helpful, professional-grade equipment can delve deeper and provide more accurate results, leading to effective solutions.”
Proactive Measures: Ensuring HDD Health
Preventing hard drive problems is always better than dealing with their consequences. Here are some proactive measures to ensure optimal HDD health:
- Regular Backups: Regularly back up your important data to an external hard drive or cloud storage.
- Avoid Physical Shocks: Handle your laptop with care to avoid physical shocks that can damage the hard drive.
- Keep Your System Cool: Overheating can shorten the lifespan of your hard drive. Ensure proper ventilation and consider using a cooling pad.
- Run Regular Disk Cleanup and Defragmentation: These utilities help optimize your hard drive’s performance and prevent errors.
Conclusion
The Lenovo HDD diagnostic tool is a valuable utility for monitoring and maintaining the health of your hard drive. By understanding its features and using it proactively, you can ensure the optimal performance and longevity of your Lenovo laptop storage, protecting your valuable data. Remember, early detection is key to preventing data loss and costly repairs.
For professional assistance with your Lenovo laptop or any vehicle diagnostic needs, contact the experts at CARW Workshop at +1 (641) 206-8880 or visit our office located at 4 Villa Wy, Shoshoni, Wyoming, United States.
FAQs
1. How often should I run the Lenovo HDD diagnostic tool?
It’s generally recommended to run the tool at least once a month or whenever you notice performance issues with your hard drive.
2. Can I continue using my laptop if the HDD diagnostic tool finds errors?
While you might be able to continue using your laptop, it’s strongly advised to back up your data immediately and consult a professional. A failing hard drive can lead to data loss.
3. Does the Lenovo HDD diagnostic tool work with external hard drives?
The tool is primarily designed for internal hard drives installed in Lenovo laptops. However, you can try using other diagnostic tools specifically designed for external drives.
4. What should I do if my hard drive fails completely?
If your hard drive fails completely, it’s crucial to stop using the laptop and seek professional data recovery services. Attempting to recover data yourself can potentially cause further damage.
5. Can I replace my laptop hard drive myself?
Replacing a laptop hard drive can be complex and varies depending on your model. If you’re comfortable with hardware installations, you can find guides online. However, if you’re unsure, it’s best to consult a professional.


