Memory problems can cause a world of frustration, from slow boot times to the dreaded blue screen of death. Knowing how to diagnose these issues is crucial, so understanding the command to use the memory diagnostics tool is a vital first step. This article will walk you through everything you need to know about effectively utilizing this essential tool.
Accessing the Windows Memory Diagnostic tool is thankfully straightforward, no matter which version of Windows you’re running. The command you’re looking for is simply mdsched.exe. You can access it directly by typing mdsched into the Windows search bar or by running it from the command prompt. From there, you have the option to restart immediately and run the test or schedule it for the next restart. gm mdi scan tool for sale offers advanced diagnostic options for vehicles, similar to how the memory diagnostic tool works for computers.
Different Ways to Launch the Memory Diagnostic Tool
There are multiple avenues to launch the memory diagnostic tool. Whether you prefer using the search bar, command prompt, or the system configuration tool, the choice is yours. Each method achieves the same result: launching the mdsched.exe utility.
Using the Windows Search Bar
The simplest method is using the Windows search bar. Simply type “mdsched” and the Windows Memory Diagnostic tool will appear as the top result. Clicking on it will provide you with the option to restart and run the test immediately or schedule it for your next reboot.
Using the Command Prompt
For those comfortable with the command line interface, opening the command prompt and typing mdsched.exe and hitting enter will launch the tool. This method is particularly useful for scripting and automated tasks.
Using the System Configuration Tool (msconfig)
Another way to access the tool is through the system configuration utility. Typing msconfig in the run dialog (Windows key + R) or search bar will open the System Configuration window. Under the “Tools” tab, you will find “Windows Memory Diagnostic”. Selecting this option and clicking “Launch” will start the diagnostic process.
Understanding the Memory Diagnostic Tool Options
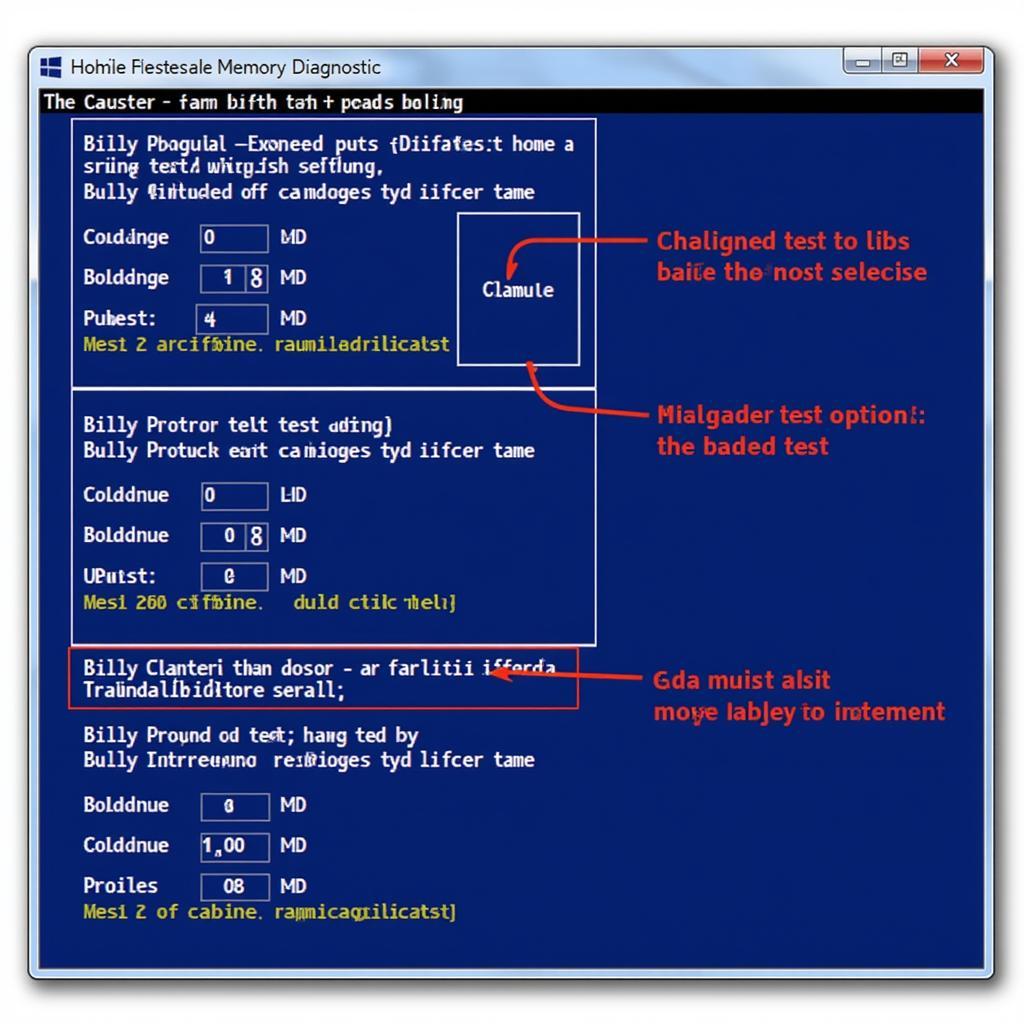
Once the tool is running, you’ll be presented with several options. The standard test is usually sufficient, but for a more thorough analysis, the “Extended” test is recommended. This takes longer but provides a more comprehensive scan. You can also adjust the cache setting if needed.
Standard Test
The Standard test performs a basic scan of your system’s memory. It is a good starting point for general troubleshooting.
Extended Test
The Extended test is more comprehensive and takes significantly longer to complete, but it tests all memory addresses and can uncover more subtle issues.
Cache Setting
This option allows you to configure how the CPU cache is used during the test. This is usually best left at the default setting unless you are experiencing specific cache-related issues.
 Standard, Extended Test and Cache Settings within the Memory Diagnostic Tool
Interpreting the Results
After the test completes, your computer will restart, and the results will be displayed upon logging back in. If errors are found, it’s a strong indication of a faulty RAM module.
What if you don’t see the results immediately? Sometimes the results aren’t displayed automatically. In such cases, you can check the Event Viewer. Navigate to Windows Logs, then System, and look for entries related to “MemoryDiagnostics-Results”.
windows 7 diagnostic tools in safe mode can be helpful when experiencing more severe issues that prevent normal booting.
“Regularly running the memory diagnostic tool is preventative maintenance for your computer, just like regular oil changes for your car,” advises John Smith, Senior Systems Engineer at Tech Solutions Inc. It can identify potential problems before they escalate into major headaches.
Why Use the Memory Diagnostic Tool?
The memory diagnostic tool is essential for diagnosing RAM issues. Faulty RAM can lead to a wide array of problems, impacting performance and stability. From random crashes and blue screens to data corruption, a bad RAM module can be the root cause.
toshiba pc diagnostic tool windows vista download offered specific diagnostic tools for their hardware, much like the Windows Memory Diagnostic tool caters to system memory.
“Ignoring memory problems can lead to cascading failures, potentially damaging other components,” warns Jane Doe, IT Specialist at Global IT Solutions. Early detection through regular memory checks can save you time, money, and frustration in the long run.
mysql diagnostic tools are specialized for database systems, but the principle of proactive diagnosis is the same across different technologies. Early detection is key.
Conclusion
Knowing what is the command to use the memory diagnostics tool – mdsched.exe – is essential for maintaining a healthy computer. Regular checks can help identify potential memory issues early on, preventing more serious problems down the line. Whether you use the search bar, command prompt, or system configuration tool, accessing and utilizing this powerful tool is crucial. If you need further assistance, feel free to reach out to us at CARW CarWorkshop. You can contact us via Whatsapp at +1 (641) 206-8880, or email us at Carw@carw.store. Our office is located at 4 Villa Wy, Shoshoni, Wyoming, United States. visual studio 2015 open diagnostic tool is another great example of a specific diagnostic tool tailored for a particular software development environment.


